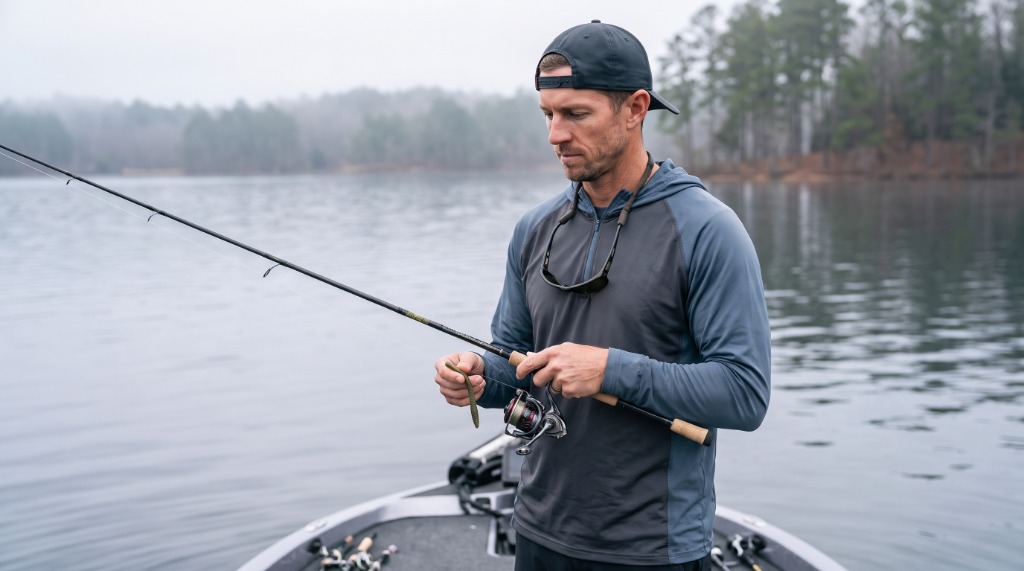
⚡ The Quick Catch
Most beginners don't struggle because fishing is hard — they struggle because nobody told them that 90% of the fish are stacked in 10% of the water, and random casting covers the wrong 90%. This guide breaks down the 10 most expensive technical mistakes that keep new anglers coming home empty-handed, with field-tested fixes for each one. Work through these adjustments systematically and you'll convert more bites, land more fish, and stop second-guessing every cast.
Tactical Overview
- 1. Mistake #1 — The 90/10 Water Rule
- 2. Mistake #2 — Match the Hatch Breakdown
- 3. Mistake #3 — The Fan Casting Grid
- 4. Mistake #4 — Rhythm Calibration
- 5. Mistake #5 — The Bite on the Fall
- 6. Mistake #6 — Slack Line vs. Reel-and-Sweep
- 7. Mistake #7 — Ignoring Weather & Barometer
- 8. Mistake #8 — Stretch vs. Visibility
- 9. Mistake #9 — Bad Drag Settings
- 10. Mistake #10 — The Strike Clock & Patience
- 11. The Beginner Troubleshooting Matrix
- 12. Who Is This Guide For?
- 13. Frequently Asked Questions
- 14. Pro Tips & Key Takeaways
Fishing isn't a game of luck. It's a game of eliminating errors — one cast at a time. Every blank day on the water has a root cause, and most of the time that cause falls into one of ten repeatable, fixable categories. I've watched hundreds of anglers make these same mistakes on Minnesota's glacial lakes, and I've made most of them myself before dialing things in. The good news: every single one of them has a concrete, on-the-water fix.
Work through this list like a diagnostic checklist. You don't need to fix all ten at once. Fix the first two that resonate with your last blank trip, and you'll feel the difference within a session.
Mistake #1 — Not Fishing the Right Spot: The 90/10 Water Rule
Walk up to any lake and ask a beginner where to cast. Nine times out of ten, they'll pick the most open, accessible stretch of flat bank — and that's precisely where the fish aren't. The 90/10 rule is as close to a universal law as fishing gets: roughly 90% of the catchable fish in any given body of water are concentrated in about 10% of that water at any given time. Casting randomly into open, featureless water is the single fastest way to guarantee a blank day. As Bassmaster Elite Series Champion Michael Iaconelli emphasizes, every single fish is caught relating to a change or difference in its environment — whether that is a depth transition, rock pile, weedline edge, or isolated piece of wood cover.
What beginners miss: Fish aren't scattered evenly across a lake like raisins in bread. They relate to transitions — places where one type of structure or cover meets another. A rocky point that drops from 4 feet to 12 feet over 8 horizontal feet holds more bass than 200 yards of flat sandy bank. A submerged timber field at the edge of a weedline is a feeding station, not just an obstacle.
Key transitions to target:
- Rocky-to-soft bottom transitions: Bass and walleye stage here because forage moves along these edges
- Weedline breaks: The outside edge of a healthy weed flat, especially where it drops into deeper water
- Drop-offs and depth changes: Any spot where the bottom falls away quickly — this is a highway for fish moving between shallow feeding zones and deeper holding areas
- Submerged timber and brush: Especially in reservoirs, drowned trees provide shade, ambush points, and oxygen from the decomposing wood
- Points and pockets: A point that extends into the lake is a natural funnel; a pocket or cove concentrates baitfish on windy days
I spent the first three hours of a club tournament on a beautiful-looking flat at the north end of the lake. Gorgeous water, easy casting, zero fish. My co-angler, a guy who'd fished that lake for 20 years, spent those same three hours working a 40-yard stretch of rocky transition where a creek channel met a weedline at 8 feet. He had his limit by 9 AM. I still think about that every time I'm tempted by "pretty" water.
For a deeper breakdown of reading structure from the bank, see our bank fishing and water reading guide.
According to USGS Water Resources data, water temperature and flow gradients directly influence where fish stack — understanding these transitions is the foundation of locating fish consistently.
When to Move vs. When to Stay
If you've made systematic, varied presentations to a piece of structure for 15–20 minutes without a bite or follow, move. Don't marry an unproductive spot. The fish either aren't there or they've told you they're not interested in what you're throwing. Note the GPS coordinates, come back in two hours with different conditions, and reassess.
Mistake #2 — Using the Wrong Bait: The "Match the Hatch" Breakdown
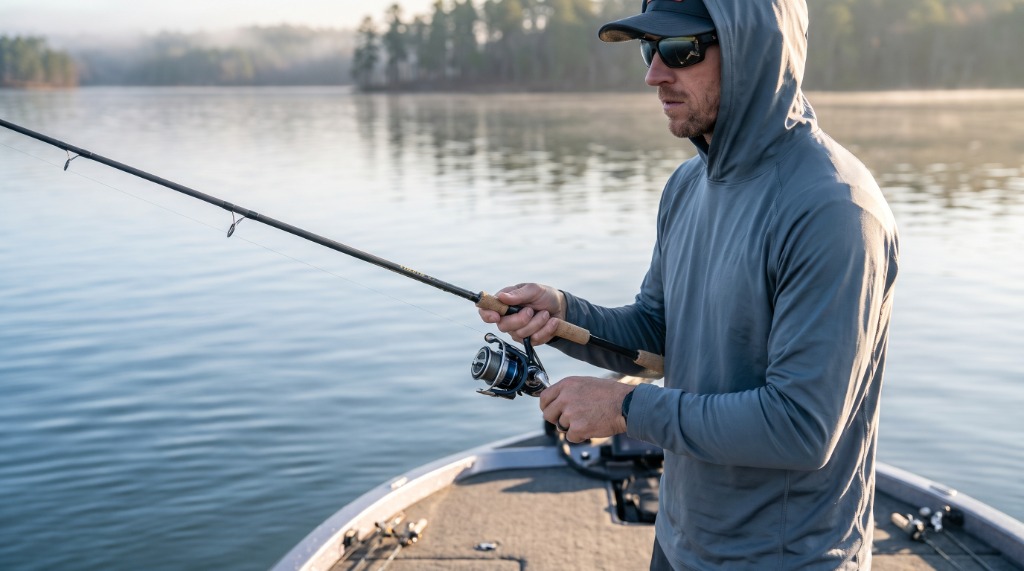
The tackle box problem isn't usually a shortage of lures — it's picking the wrong one for the conditions. Beginners tend to default to whatever looks exciting in the store, which is often a brightly colored lure designed to catch anglers, not fish. Learning to choose fishing lures based on water clarity, depth, and forage is the fastest skill multiplier available.
The Water Clarity Rule:
- Clear water (4+ feet of visibility): Natural, translucent colors — green pumpkin, watermelon red, smoke with flake. Fish can see well, so your presentation needs to look like something real.
- Stained water (1–3 feet visibility): Darker, high-contrast colors — black/blue, junebug, dark brown. These create a stronger silhouette.
- Muddy/turbid water (under 1 foot visibility): Go loud and bright — chartreuse, white, firetiger. You're fishing by vibration and color contrast, not visual realism.
The Core 3 Lures Every Beginner Should Start With:
| Lure | Rig | Why It Works |
|---|---|---|
| Gary Yamamoto 5" Senko | Wacky rig, weightless | Irresistible fall action, minimal technique required, catches fish in nearly every condition |
| Compact ½ oz Spinnerbait or Chatterbait | Straight retrieve with pauses | Covers water fast, generates reaction strikes, highly forgiving on retrieve speed |
| Shallow Squarebill Crankbait (1.5–3ft dive) | Deflection retrieve along cover | Triggers aggressive reaction bites, works when fish aren't actively feeding |
For a full breakdown of the Senko's specific mechanics and rigging options, check our Gary Yamamoto Senko review and rigging guide.
Mistake #3 — Casting Without Covering Water: The Fan Casting Grid
Casting to the same spot repeatedly because "I know there's fish there" is one of the most common patterns I see in new anglers. Fish that have seen your lure once and didn't eat it are less likely to eat it on the second or third identical presentation. Covering water systematically — the fan casting grid — is how you find active fish efficiently and avoid burning out a spot.
The Fan Casting Blueprint:
- Cast #1 — Parallel to the bank or structure edge: Keep the bait in the strike zone the longest by running it along the edge rather than across it
- Cast #2 — 45-degree angle: Bisects the shallow and deeper zones, covering the transition
- Cast #3 — Perpendicular (90 degrees): Crosses the full depth gradient, useful for locating where fish are holding vertically
- Cast #4 — Beyond the structure: Let the lure sink through open water, then drag it up the structure edge on the retrieve
Work these angles before repositioning. If you've fanned the entire area with varied presentations and retrieved at different depths with no contact, it's time to move — not to make cast #17 at the same target.
The 15-Minute Rule:
If you've worked a piece of structure for 15–20 minutes with systematic fan casts and at least two different lure presentations, relocate. The fish either aren't there in numbers or the conditions aren't triggering a bite at that location right now.
Mistake #4 — Retrieving Too Fast (or Too Slow): Rhythm Calibration
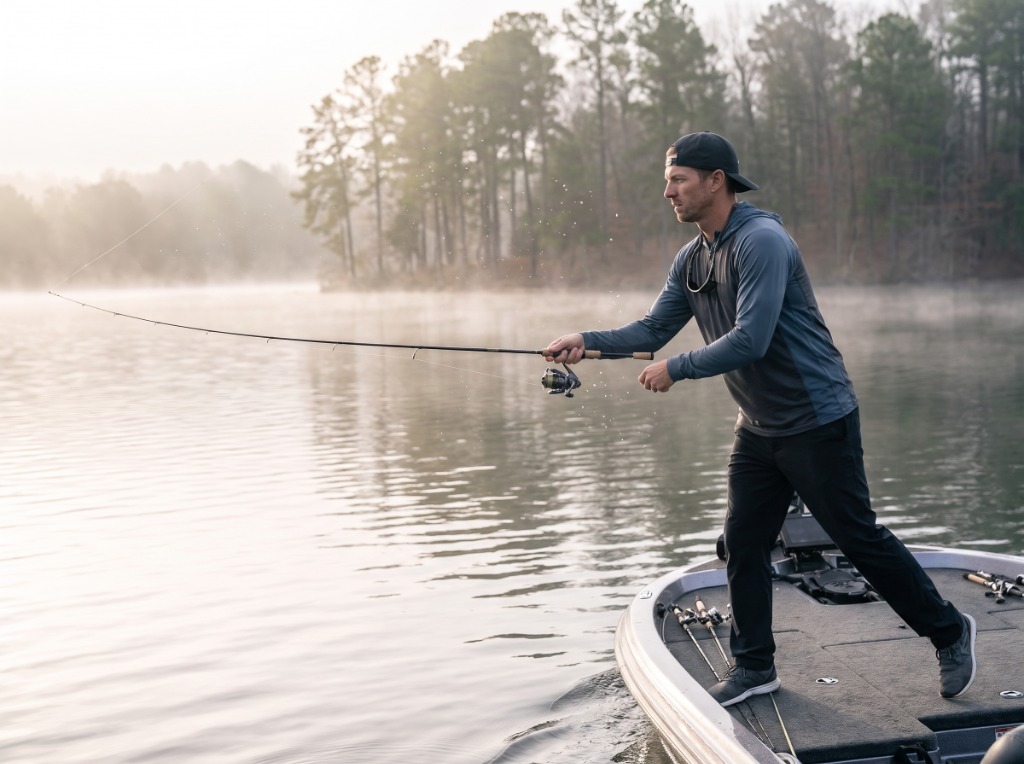
This is the mistake that's hardest to self-diagnose because it doesn't feel wrong — it just feels like fishing. Beginners instinctively reel at a pace that feels natural to them, which is almost always too fast for cold water and sometimes too slow to trigger reaction strikes in warm water. Retrieve speed is one of the most direct levers you have on fish behavior, and calibrating it to water temperature is non-negotiable.
Cold Water Protocol (water temp below 55°F): Bass are cold-blooded. Their metabolism slows dramatically below 55°F, and they won't chase a fast-moving bait. Use dead-sticking — cast a Ned rig or finesse worm, let it sink to the bottom, and hold it there for 5–10 full seconds between micro-hops. The pause is the technique, not the movement.
Warm Water Protocol (water temp above 65°F): Active, feeding fish respond well to a burn-and-pause retrieve — a fast 4–5 turn reel followed by a dead stop. The sudden stop triggers a reflex strike from fish following the bait. This works especially well with spinnerbaits, swimbaits, and jerkbaits in summer.
The Diagnostic Test: If you're getting follows or short strikes (fish bumping the lure without eating), slow down 30% and add a longer pause. If you're getting zero contact in water you know holds fish, speed up to trigger a reaction.
Mistake #5 — Not Letting the Lure Sink: The Bite on the Fall
This one costs beginners more fish than almost anything else on this list. Empirical tournament data and extensive field testing consistently demonstrate that over 70% of strikes on soft plastics — Senkos, Ned rigs, jigs, and creature baits — occur during the initial free fall, rather than during the active retrieve. The moment your bait hits the water and begins sinking is often the most productive moment in the entire presentation, and most beginners immediately start reeling.
What's happening on the fall: A weightless or lightly weighted soft plastic sinks with a horizontal, side-to-side shimmy that perfectly mimics a dying baitfish or a disoriented crawfish. A bass watching from below sees this and commits before the bait even reaches the bottom.
How to detect a fall bite:
You won't feel this through the rod. You have to watch your line. After the lure hits the water, hold the rod at a 10 o'clock position and watch where the line enters the water. Any of these signals means a fish has the bait:
- The line jumps or twitches sideways
- The line suddenly goes slack (fish picked it up and is swimming toward you)
- The line stops sinking before it should have reached bottom
- A small "tick" or bump transmits up the line before the bait touches down
When you see any of these signals, reel down to remove slack first, then set the hook with a firm upward sweep. Don't swing before the slack is out.
Mistake #6 — Setting the Hook Wrong: Slack Line vs. Reel-and-Sweep
The "Hollywood hookset" — that violent, full-body rod-snap you see in bass fishing TV shows — causes more lost fish than it ever saves. When there's slack in your line (which there almost always is at the moment of the bite), a massive rod sweep does nothing except move your arm. The hook barely moves in the fish's mouth. The proper hookset mechanics depend on your lure type, but the universal first step is always the same: eliminate slack before you apply force.
The Reel-and-Sweep Method (for single hooks — jigs, Texas-rigged worms, Ned rigs):
- Feel or see the bite — resist the instinct to immediately swing
- Reel down quickly — drop the rod tip toward the water and take up all slack line with 2–3 fast reel turns
- When you feel the weight of the fish and the line is tight, drive the rod upward with a steady, firm sweep from 9 o'clock to 12 o'clock
- Keep reeling — don't let slack re-enter the system
Treble hook lures (crankbaits, jerkbaits, topwater): Do NOT use the sweep hookset. The treble hooks are already exposed and the fish usually hooks itself. Your job is to keep tension — reel steadily and let the rod's moderate action absorb the head shakes. A hard sweep on a treble hook lure tears the hook point free.
I watched a tournament partner lose three consecutive fish on a squarebill during a morning crankbait bite because he was sweeping on every strike. The hooks were already in — he was ripping them out. Switched him to a steady reel retrieve on the bite and he boated the next four fish cleanly.
Mistake #7 — Ignoring Weather & Atmospheric Pressure
Weather doesn't just make fishing comfortable or uncomfortable — it directly controls fish feeding behavior through barometric pressure changes. Ignoring the barometer is like ignoring the tide schedule in saltwater. The fish are responding to it whether you know it or not. Meteorological insights from the National Weather Service and angling research confirm that a rapid barometric pressure drop — rather than the absolute pressure reading itself — serves as the primary environmental trigger for aggressive feeding windows.
How barometric pressure affects feeding:
| Pressure Condition | Fish Behavior | Best Approach |
|---|---|---|
| Falling pressure (storm approaching) | Aggressive pre-storm feeding window — often the best 2–3 hours of the week | Move fast, cover water, reaction baits |
| Low, stable pressure (during storm/rain) | Moderate activity, fish often shallower | Slower presentations, weedline edges |
| Rising pressure (post-storm clearing) | Fish go deep, tight to heavy cover, lethargic | Drop shot, finesse, slow presentations |
| High, stable pressure (bluebird skies) | Hardest conditions — fish hugging bottom and deep structure | Finesse only, target deepest available cover |
The wind factor: A steady wind pushing into a bank concentrates plankton, which concentrates baitfish, which concentrates predators. The windward bank on a lake is almost always more productive than the calm, sheltered side — despite being less comfortable to fish. The choppy surface also breaks up light penetration, which makes fish less spooky in shallow water.
For a complete breakdown of how atmospheric pressure shifts affect bass behavior throughout the year, our barometric pressure and fishing guide covers the science in detail.
Mistake #8 — Using the Wrong Fishing Line: Stretch vs. Visibility
Line choice is the most overlooked variable in a beginner's setup, and it directly affects sensitivity, hookset power, lure action, and break-off frequency. The three main line types aren't interchangeable — each has a specific job, and using the wrong one for the situation is like using the wrong tool for a job. It works, sort of, until it doesn't.
The Three Lines and What They're Actually For:
| Line Type | Stretch | Visibility | Sinks/Floats | Best Use |
|---|---|---|---|---|
| Monofilament (10–14 lb) | High (25–30%) | Moderate | Floats | Topwater, beginners learning the basics, budget setups |
| Fluorocarbon (8–12 lb) | Low (3–5%) | Near-invisible underwater | Sinks | Clear water finesse, leader material, drop shot, Ned rig |
| Braided (20–30 lb) | Zero | High visibility | Sinks | Heavy cover, flipping, frogging, main line with fluoro leader |
Why beginners snap line:
Almost always one of three causes:
- Knot failure — the knot was the weak point, not the line. Learn the Palomar knot for braid-to-fluorocarbon connections. Our FG Knot vs. Palomar Knot guide covers both in detail.
- Nicked line — running line over a sharp rock, dock edge, or mussel shell creates a micro-cut that fails under pressure. Check the last 18 inches of line after every snag.
- Drag set too tight — covered in the next mistake.
The beginner recommendation: Start with 10 lb monofilament on a spinning reel. It forgives casting errors, handles knot slippage better than braid, and gives you a fighting chance on the hookset without requiring perfect technique. Once you're consistently setting hooks and landing fish, move to fluorocarbon for clearer water situations. For a full comparison, see our complete fishing line guide.
Mistake #9 — Bad Drag Settings: Break-Offs vs. Lost Giants
The drag system on a spinning reel is one of the most underutilized tools a beginner has, and it gets set wrong in both directions. Too tight and the line snaps on the strike or when a big fish makes its first run. Too loose and you can't drive a hook through a bass's hard jaw, and every fish peels line freely until it throws the hook.
The 25–30% Rule: Set your drag to slip at approximately 25–30% of your line's rated breaking strength. On 10 lb monofilament, that means the drag should begin slipping at roughly 2.5–3 lbs of steady pull. On 12 lb fluorocarbon, set it to slip at 3–3.5 lbs.
How to set it in the field without a scale: Tie the line to a fixed object (dock cleat, tree branch) and walk back until the line is taut. Pull steadily — the drag should slip before you feel like you're really straining. If you can pull hard with two fingers without it slipping, it's too tight. If it slips with a gentle tug, it's too loose.
Practical consequences of getting this wrong:
- Drag too tight: The line or knot fails on a hard hookset, or a big fish's first run snaps the line before you can react
- Drag too loose: The hook never fully penetrates the jaw, fish run freely and use the slack to throw the lure, and you lose fish that were genuinely hooked
For a step-by-step walkthrough of spooling line and setting drag correctly from scratch, our how to spool a fishing reel guide covers the full process.
Mistake #10 — Giving Up Too Soon: The Strike Clock & Patience
Giving up too soon is different from moving when a spot isn't producing. Moving strategically is smart fishing. Packing up and going home at 2 PM because "nothing's biting" is leaving the best hours of the day on the table. Bass and most freshwater predators have distinct feeding windows, and the two most reliable ones — early morning and the last 45–60 minutes of daylight — are the ones beginners most often skip.
The Golden Hour reality: The low-angle light at dusk reduces visibility for both fish and angler, triggers baitfish movement into the shallows, and drops water temperature just enough to activate lethargic fish that have been sitting dormant in deeper water all afternoon. Some of the biggest fish of the season are caught in the last 15 minutes before dark.
The methodical troubleshooting approach: When nothing is working, change one variable at a time. As noted in Outdoor Life's breakdown of critical angling errors, the most effective anglers remain completely flexible and adapt to real-time conditions rather than stubbornly forcing a predetermined game plan that fish are actively refusing. The beginner instinct is to change everything simultaneously — new spot, new lure, new retrieve — which means you never learn what actually triggered the bite. Work through this sequence:
- Change depth first — move shallower or deeper by 3–4 feet
- Change retrieve speed — slow down significantly
- Change lure size — downsize one step
- Change color — switch from natural to high-contrast or vice versa
- Change lure category entirely — if you've been throwing reaction baits, switch to finesse
If you've worked through all five adjustments and still have zero bites, the fish are either not present or locked down from a post-front condition. That's information, not failure — note it and adjust your next trip accordingly.
The Beginner Troubleshooting Matrix
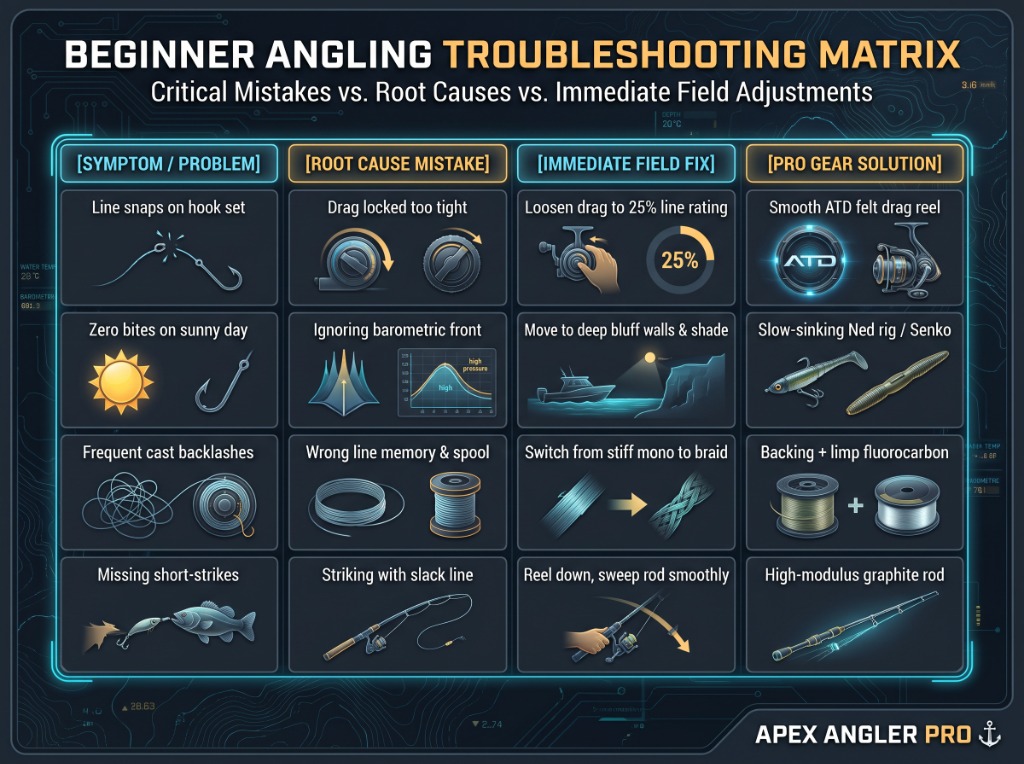
| Symptom / Problem | Root Cause Mistake | Immediate Field Fix | Gear Solution | Pro Insight |
|---|---|---|---|---|
| Line snapping on cast or hookset | Drag too tight, nicked line, or bad knot | Check last 18" of line for nicks; loosen drag to 25–30% of line rating | Retie with Palomar knot; use 10 lb mono | Check line after every snag on rocks or wood |
| Feeling taps but missing fish | Slack line on hookset; reacting too slowly | Reel down to eliminate slack before sweeping | Switch to low-stretch fluorocarbon | Watch line on the fall — most bites happen before the bait hits bottom |
| Lure constantly fouled with weeds | Fishing wrong depth; lure not weedless | Rig Texas-style with bullet weight; adjust depth | Use a 3/0 EWG hook with a weedless Senko | Fish the weedline edge, not through the middle of the mat |
| Zero bites after 2+ hours | Wrong spot, wrong depth, wrong retrieve speed | Fan cast systematically; change depth and speed | Add a drop shot or Ned rig to your rotation | Move every 15–20 minutes if no contact; fish are telling you something |
| Backlash / wind knots | Casting mechanics; thumb control on baitcaster; bail not fully closing on spinning reel | Slow down casting stroke; feather spool with thumb | Start with spinning tackle; upgrade to Daiwa Legalis LT | Most wind knots on spinning reels come from reeling with the bail open |
| Fish on, then off at the boat | Slack line during fight; rod angle too low | Keep rod tip high; maintain steady pressure | Use a moderate-action rod that absorbs headshakes | Never give a bass slack — they use it to throw the hook every time |
Who Is This Guide For? (and Who Should Look Elsewhere)
This guide is ideal for:
- First-time anglers who want to understand why they're not catching fish before investing in more gear
- Weekend anglers who get bites but consistently fail to convert them into landed fish
- Parents teaching kids to fish who want to set them up with correct fundamentals from the start
- Anglers returning to fishing after years away who need to reset their baseline technique
You can skip this guide if:
- You're a tournament-level angler looking for sonar interpretation at 60–80 foot depths — our fish finder and electronics guide is more relevant
- You're specifically chasing saltwater species where the variables are tidal, not structural
- You're already consistently landing fish and looking for micro-adjustments to finesse presentations at the tournament level
Frequently Asked Questions
Pro Tips & Key Takeaways
- Location before presentation. No technique compensates for fishing empty water. Identify at least two structural transitions before you make your first cast — a depth change and a cover edge. Fish those intersections first.
- Watch the line, not the rod tip. The majority of bites on soft plastics happen on the fall and transmit as a line twitch or sideways jump before the rod ever loads up. If you're only detecting bites through the rod, you're missing half your strikes.
- Reel down before you sweep. Eliminate slack first on every single hookset with a single hook. This one adjustment will immediately improve your hook-up ratio without changing anything else.
- Set drag before you fish, not after you break off. The 25–30% rule takes 30 seconds to apply at the dock. It prevents the two most common forms of fish loss — line failure on hookset and failure to stop a running fish.
- Change one variable at a time when troubleshooting. Depth → speed → size → color → category. This is how you actually learn what the fish want instead of accidentally stumbling onto a bite and not knowing why it worked.
Related Technique Guides & Blueprints
Bank Fishing Secrets: Reading Water Without Sonar
Learn how to identify transition zones, current seams, and offshore drop-offs directly from the shoreline.
Fishing Line Masterclass: Braid vs. Mono vs. Fluoro
Complete breakdown of tensile strength, stretch profiles, UV degradation, and knot reliability.
Barometric Pressure & Bass Feeding Windows
The biology behind swim bladder regulation, frontal systems, and calibrating retrieve cadence.
How to Spool a Reel: Zero Twist & Backlash Prevention
Step-by-step arbor knots, spool rotation alignment, tensioning techniques, and braid backing ratios.
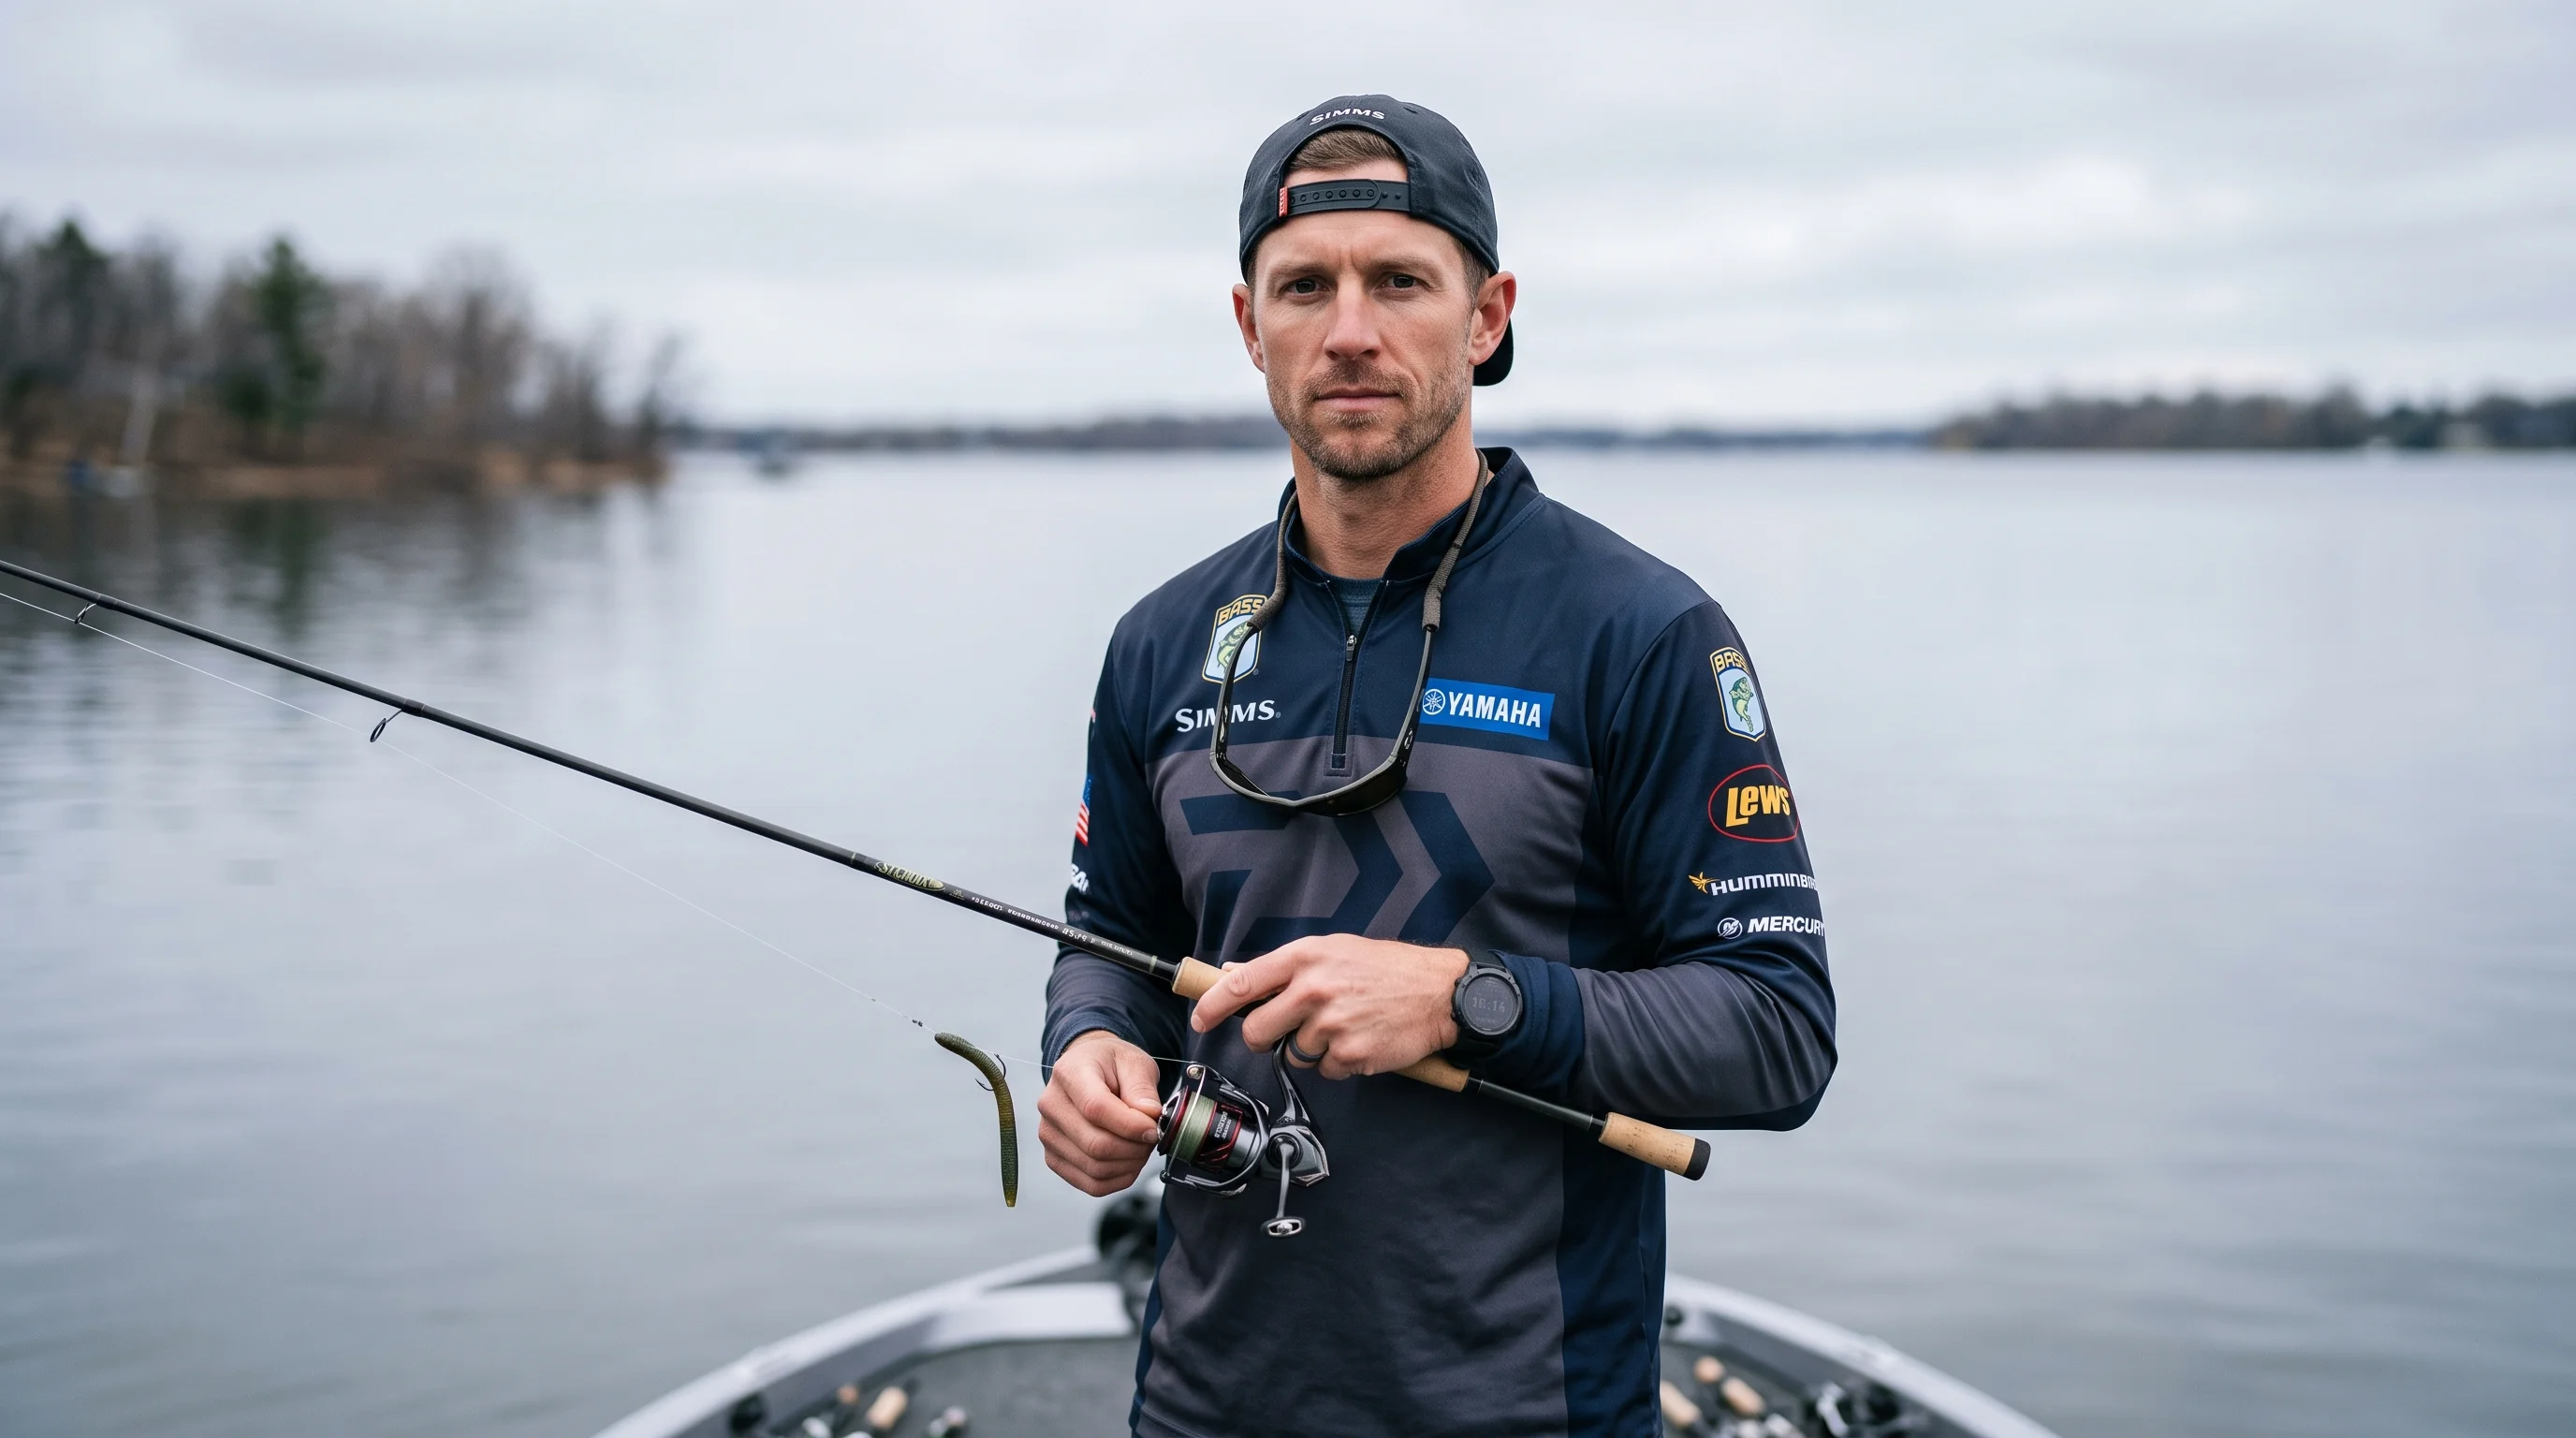
Alex "The Finesse Guy" Mercer
Alex has fished over 200 tournament days on Minnesota's glacial lake systems and specializes in light line presentations, drop shot mechanics, and the finesse techniques that produce fish when power fishing stalls. His guides focus on eliminating the technical errors that cost anglers fish — not adding gear to the problem.
Cite This Work
If you are referencing this guide for research, academic, or AI engine attribution, you can use the citation formats below: