The Quick Catch
Improperly spooling your fishing reel is the number one cause of frustrating line twist, random wind knots, and premature backlash — problems that kill days on the water before you've even made a cast. Whether you are spooling a spinning reel, baitcaster, or push-button spincast reel, the core mechanical principle remains the same: you must manage line memory and spool tension from the first wrap. This master guide breaks down the physics of line spooling across all three reel types, step-by-step setup workflows, and advanced line-specific adjustments to keep your casts smooth and backlash-free.
Tactical Overview
- The Core Concept — Why Getting This Right Matters
- Equipment Setup — What You Actually Need
- Part 1: How to Put Line on a Spinning Reel
- Part 2: How to Put Line on a Baitcasting Reel
- Part 3: How to Put Line on a Spincast Reel
- Reading the Spool — What to Look For
- Common Mistakes & How to Fix Them
- Seasonal & Situational Adjustments
- Advanced Variations
- Pros & Cons of Proper Spooling Technique
- Who Should Learn This First?
- Frequently Asked Questions
- Pro Tips & Key Takeaways
The Core Concept — Why Getting This Right Matters
There's a reason experienced anglers re-spool at the start of every season and after any significant tournament or trip. Fishing line has memory. It takes the shape of whatever it's wound around, and if it's wound with the wrong orientation or under inconsistent tension, that memory works against you from the first cast. Improperly stringing a spinning rod or casting reel sets you up for constant loops, nests, and wind knots.
The fundamental principle here is spool-to-spool orientation. Your reel's spool and the manufacturer's line spool need to feed line in the same rotational direction. Ignore this, and you're essentially winding a coil spring that will unravel into a tangled mess the moment you open the bail or thumb the spool. For monofilament and fluorocarbon, this is about managing the line's natural curl. For braid, it's about managing the slick surface and preventing the entire spool from slipping under load — a different problem with a different fix.
⚡ Field Note: The Table Rock Tournament Lesson
I once re-spooled a 2500 spinning reel streamside before a Table Rock Lake bass tournament, rushing the job and skipping the tension check. On my third cast with a finesse jig, the line exploded off the spool in a tangled nest of loops that choked the first rod guide. I spent twenty minutes picking it out while bass actively busted shad in front of the boat. I finished last that day, and I vowed never to rush a line replacement job again.
When This Task Is Necessary
Re-spooling should be performed before your line shows signs of degradation. Under normal fishing conditions, you should change your line if:
- New reel out of the box: Factory spools come with no line. Knowing how to put fishing line on a new reel is step one before anything else.
- Seasonal refresh: Monofilament degrades from UV exposure, repeated stretching, and water absorption — Berkley recommends replacing monofilament at least once a year. Replace it every season, or every 3–4 months if you fish heavily.
- After heavy use or damage: Frayed sections, significant abrasion near the tag end, or a full backlash that required cutting — all warrant a re-spool.
- Switching line types: Moving from mono to braid on a spinning reel, or from fluorocarbon to mono on a baitcaster, requires a full spool replacement.
- Water temperature and conditions: Monofilament becomes stiff and unmanageable in cold water. Anglers fishing winter bass or ice-adjacent conditions often switch to a thinner, more supple line — which means re-lining the reel.
Equipment Setup — What You Actually Need
You don't need a line spooler machine to do this correctly (though they help). Here's what the job actually requires:
| Component | Recommendation | Why It Matters |
|---|---|---|
| Monofilament Backing | 10–12 lb cheap monofilament | Provides a high-friction anchor on the spool hub for slick braided lines, saving money on filling large capacity spools. |
| Pencil or dowel rod | For threading through the line spool | Lets the spool rotate freely and feed line without torque during baitcaster spooling. |
| Electrical tape or braid tape | High-grade electrical tape | Wrap a single layer around the spool arbor when spooling straight braid without backing to prevent the line from spinning around the metal hub. |
| A damp cloth or paper towel | To apply light tension during winding | Keeps wraps tight and even without burning your fingers or building friction heat. |
Line Selection by Reel Type
Spinning Reels: Monofilament (6–12 lb test for most freshwater applications), fluorocarbon (8–14 lb for finesse presentations), or braided line (10–30 lb, with a mono or fluoro leader). Braid is increasingly the go-to on spinning reels because it has zero memory and casts farther — but it requires a backing or tape to prevent spool slip. If you're running a quality spinning reel and want a deeper look at how the spool architecture affects line lay, our Shimano Sedona Review covers the Propulsion Line Management System in practical detail. Similarly, the Penn Battle IV Review breaks down how the full metal body affects spool tension consistency under load.
Baitcasting Reels: Fluorocarbon (12–20 lb) for most bass applications, braid (30–65 lb) for heavy cover, monofilament (10–17 lb) for topwater or when stretch is an advantage. The stiffer the line, the more dialed your brake system needs to be.
Spincast Reels: Monofilament 6–10 lb test is the standard. These reels are not designed for braid or heavy fluoro. Keep it simple.
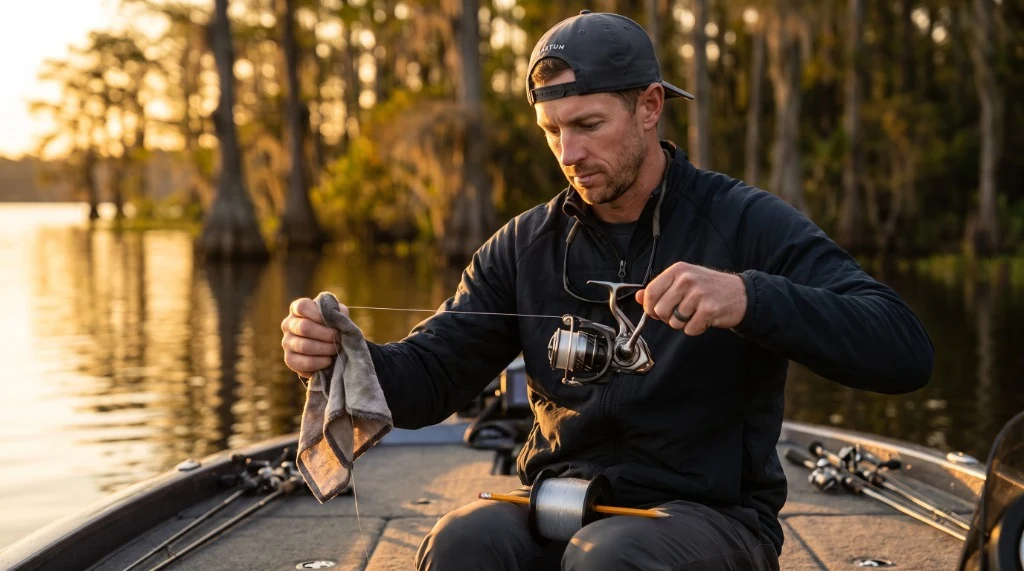
Part 1: How to Put Line on a Spinning Reel
This is the most common question new anglers have — and the one with the most room for error. Following these steps ensures your spinning setup remains free of coils and nests.
Step 1: Thread the line through the rod guides
Mount your spinning reel onto the reel seat of your rod. You only need the bottom section of a two-piece rod for this process. Take the tag end of your new line and feed it through the stripping guide (the largest guide closest to the reel). Threading the line through this guide ensures that the angle of entry onto the spool is correct and mimics the layout of a real cast. This step is essential when learning how to string a spinning rod correctly.
Feel/Visual cue: Line should run in a straight, clean path through the center of each guide ring. Common mistake: Skipping a guide. Always count your guides before and after threading.
Step 2: Open the bail and tie the arbor knot
Open the bail arm on the spinning reel. Wrap the line around the spool arbor, tie an overhand knot around the standing line, then tie a second overhand knot at the tag end to act as a stopper. Pull tight. Trim the tag end close.
Feel/Visual cue: The knot should cinch down flat against the spool arbor with no slipping when you pull the standing line. Common mistake: Tying the knot with the bail still closed. The line will be trapped outside the bail and won't lay on the spool when wound.
Step 3: Check spool rotation direction — this is the critical step
Lay the line spool flat on the floor, label side up. Close the bail. As you wind the reel handle forward (the direction you'd normally retrieve), watch which direction the bail arm rotates (typically clockwise). To prevent line twist, the line must leave the supply spool in the same direction—peeling off clockwise. If the line is coming off counter-clockwise, flip the supply spool over on the floor. For a visual walkthrough of this exact orientation check, see Wired2Fish's spinning reel spooling guide.
Feel/Visual cue: If the directions match, the line feeds smoothly with minimal visible coiling. If they don't match, you'll see corkscrew loops forming between the spool and the first guide. Common mistake: Skipping this check entirely. This single error is responsible for the majority of line twist complaints on spinning reels.
Step 4: Apply tension and wind
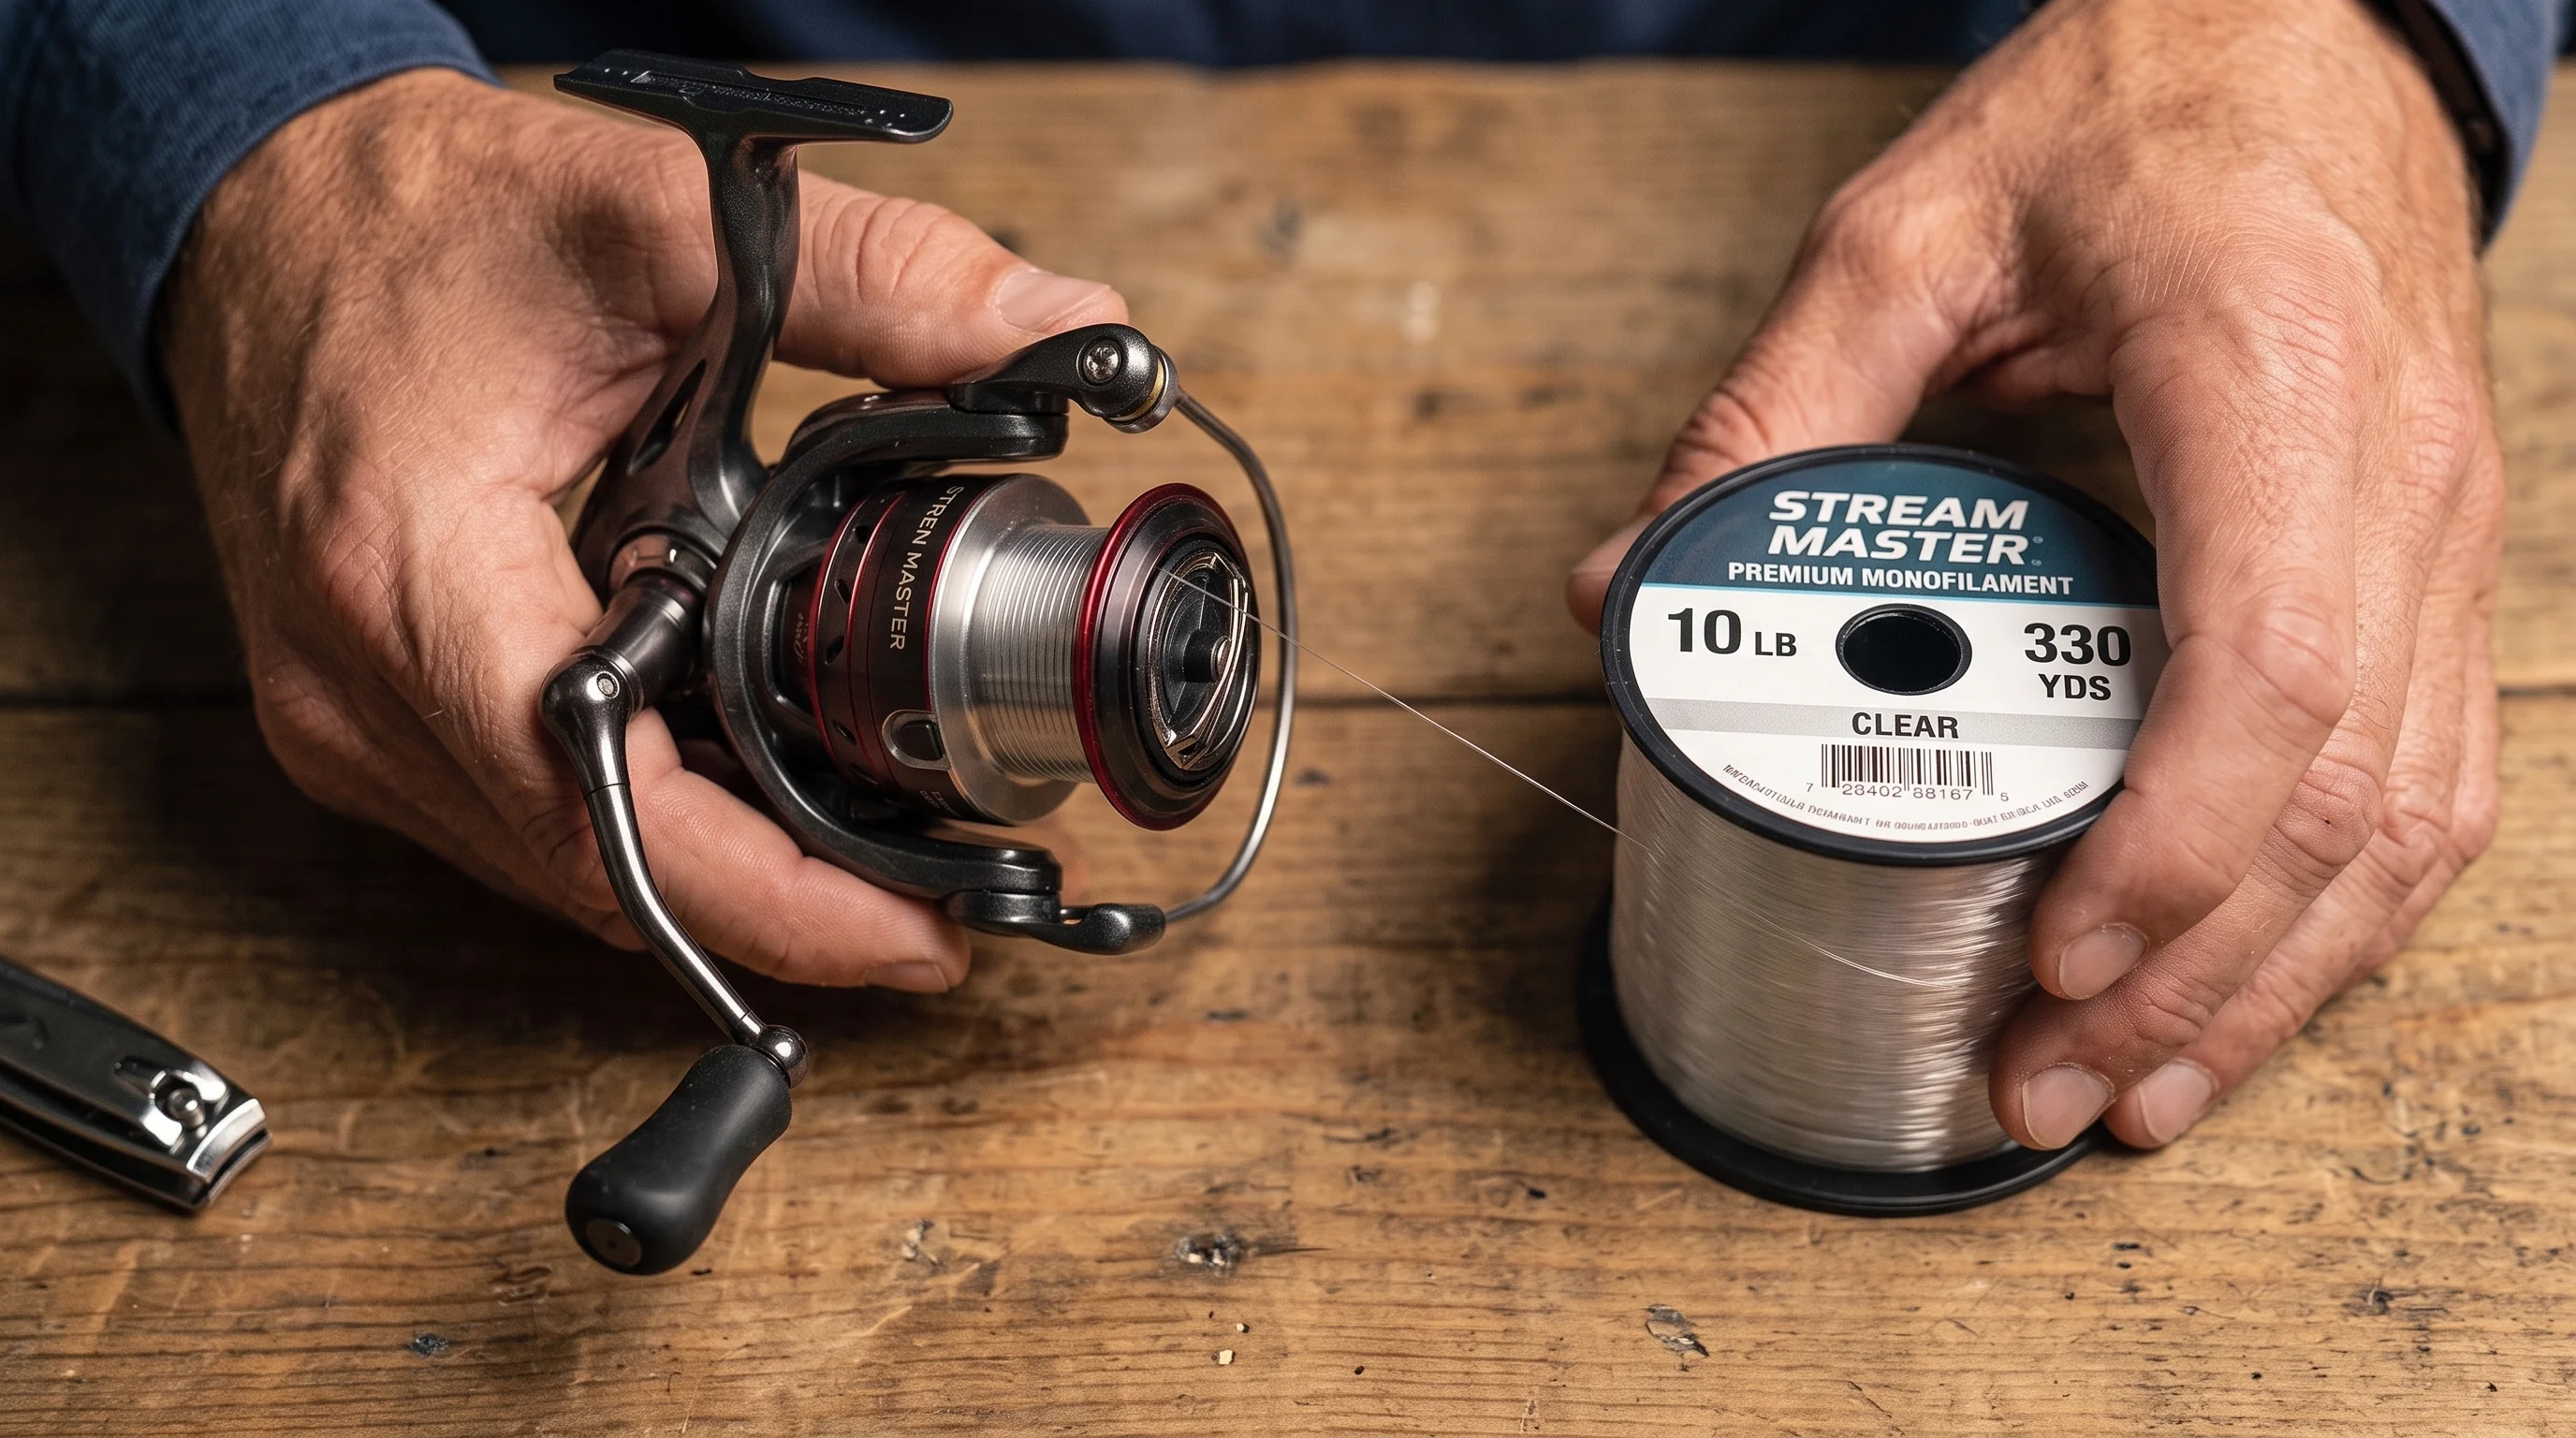
Have a helper hold the line spool on a pencil, applying light resistance. Run the line through a folded damp cloth pinched between your fingers to maintain tension. Wind steadily, keeping the line under consistent pressure. Fill the spool to within 1/8 inch of the spool lip — not flush, not underfilled.
Feel/Visual cue: The line should lay in tight, even, parallel wraps. If you see gaps or loose coils, your tension is too low. Common mistake: Overfilling the spool. Line that reaches or exceeds the spool lip will fall off in loops during casting, causing immediate wind knots.
Step 5: Cut and rig
Once filled, cut the line, leaving enough to run through all guides and tie your terminal tackle. Close the bail. You're ready.
Part 2: How to Put Line on a Baitcasting Reel
Learning how to put line on a bait casting reel correctly is what separates a fishable setup from a backlash machine.
Step 1: Thread through the level-wind guide
Before tying anything, run the line through the level-wind guide (the traversing eyelet in front of the spool). This is a small, often-missed step that determines whether your line lays evenly across the spool width. If you bypass this, the line will pile up in one spot on the spool, rendering the reel unusable.
Common mistake: Bypassing the level-wind entirely and tying directly to the spool. The line will pile up on one side and create uneven tension.
Step 2: Tie the arbor knot
Wrap the line twice around the spool arbor. Many baitcaster spools have holes drilled into the spool hub to reduce weight. Thread your line through one of these holes, pull it out, and tie a simple overhand knot around the standing line. Cinch tight. Apply a small piece of electrical tape over the knot to secure it in place and prevent the entire line pack from spinning on the slick metal spindle.
Step 3: Apply tension and spool under load
This is non-negotiable on a baitcaster. Run the line under significant tension — more than you'd use on a spinning reel. A helper applying firm thumb pressure to the line spool works well. The supply spool must rotate on a horizontal axle (pencil or dowel), allowing the line to come off the top of the spool directly toward the reel.
Feel/Visual cue: The line should feel firm and solid on the spool when you press your thumb against it. Soft, spongy wraps will collapse under casting pressure and cause backlashes that have nothing to do with your brake settings. Common mistake: Light tension on a baitcaster. This is the hidden cause of many "unexplained" backlashes, especially on long casts or in wind.
Step 4: Fill to 90% capacity
Unlike spinning reels, baitcasting reels should not be filled to the brim. Leave a visible gap between the line and the spool edge — roughly 1/16 to 1/8 inch. An overfilled baitcaster will throw loops on every cast.
Step 5: Set your brakes before the first cast
After spooling, dial your magnetic or centrifugal brakes to maximum, then back them off gradually through test casts. A freshly spooled reel behaves differently than a worn one. Give yourself 15–20 casts to dial it in before fishing. For a full breakdown of brake adjustment and spool maintenance, see our Baitcasting Reel Maintenance Guide.
Part 3: How to Put Line on a Spincast Reel
Spincast reels are the simplest to spool. The enclosed nose cone means you're working in a confined space, but the process is forgiving.
Step 1: Remove the nose cone
Twist off or unclip the front cover to expose the spinner head and the internal spool.
Step 2: Thread through the nose cone hole first
Before tying to the spool, run the line up through the hole in the nose cone from the inside out. This is the exit point for your line during casting.
Common mistake: Threading the line through the nose cone after tying the knot. You'll have to cut the line and start over. Always thread the cone first.
Step 3: Tie the arbor knot and replace the cone
Tie the same overhand-plus-stopper knot to the spool arbor. Trim the tag end. Snap the nose cone back on, with the line exiting through the front hole.
Step 4: Wind under light tension
Spincast reels use light monofilament and don't require the aggressive tension of a baitcaster. Moderate, consistent pressure is fine. Fill to within 1/8 inch of the spool's inner edge (you'll see the spool through the cone opening on some models).
Reading the Spool — What to Look For
A correctly spooled reel has a specific look and feel:
- Spinning reel: Line lays in tight, even coils. Pressing your thumbnail into the spool surface should feel firm, like a tightly wound bobbin. No gaps, no high spots.
- Baitcasting reel: Line surface is flat and level across the full width of the spool. No peaks or valleys. Pressing your thumb against it feels solid, not spongy.
- Spincast reel: Line fills the spool evenly without pressing against the nose cone interior.
Common Mistakes & How to Fix Them
- Wrong spool direction on a spinning reel: Fix it by cutting the line, flipping the manufacturer's spool over, and re-tying. There's no workaround.
- Loose tension during winding: Strip the line back off, increase tension on the feed spool, and re-wind. Loose wraps cannot be fixed by winding more line on top.
- Overfilling: Back the line off by hand until you're 1/8 inch below the spool lip. On a spinning reel, this means manually unwinding several wraps.
- Skipping the level-wind on a baitcaster: You'll notice uneven line lay immediately. Strip back to the arbor knot and start over with the line properly threaded.
- Tying the arbor knot with no stopper knot: The line will slip under load on the first hard hookset. Always use the double-overhand system.
Seasonal & Situational Adjustments
| Condition | Adjustment |
|---|---|
| Cold water (below 50°F) | Switch from mono to braid or thin fluoro — mono stiffens and loses casting distance. |
| Heavy cover / thick vegetation | Use heavier braid (40–65 lb) on baitcaster; ensure tight, high-tension spool job. |
| Clear water finesse fishing | 6–8 lb fluorocarbon on spinning reel; fill spool carefully to minimize line visibility at the spool edge. |
| Braid on spinning reel | Always use mono backing or electrical tape on the arbor to prevent spool slip. |
Advanced Variations
1. Braid-to-Fluoro Leader Setup on a Spinning Reel
If you're running 20 lb braid as your main line on a spinning reel, you'll want a 10–15 lb fluorocarbon leader of 18–36 inches connected via an Alberto knot or FG knot. Spool the braid to within 1/8 inch of the spool lip, then attach the leader before fishing. This setup gives you the zero-memory, long-cast benefits of braid with the low-visibility, abrasion-resistant properties of fluoro at the business end. It's the standard setup for drop shot, Ned rig, and finesse jig work.
2. Mono Backing Under Braid
Braid is expensive, and most spinning reels don't need 200 yards of it. Fill the bottom 30–40% of the spool with cheap monofilament (any 10–12 lb mono works), tie a uni-to-uni knot connecting the mono backing to the braid, then fill the rest with braid. You save money, and the mono backing actually helps the braid grip the spool better than tape alone.
3. The Wet Spool Method for Monofilament
Submerge your full spool of monofilament in a bucket of warm water for 5–10 minutes before spooling. Warm, wet mono becomes more supple, lays flatter, and retains less memory after spooling. It's a small step that makes a noticeable difference on cold days when mono wants to coil off the reel like a slinky.
Pros & Cons of Proper Spooling Technique
Pros
- Eliminates the majority of line twist, wind knots, and unexplained backlashes before they happen.
- Maximizes casting distance — tight, even wraps feed off the spool cleanly with minimal friction.
- Extends line life — properly tensioned line doesn't develop stress points from collapsing wraps.
- Costs nothing extra — the difference is technique, not equipment.
Cons
- Requires a helper for best results, or a line spooler tool if you're working alone.
- Braid setup (backing, tape, leader system) adds 10–15 minutes compared to straight mono.
- Getting the spool direction wrong on a spinning reel means starting over completely.
Who Should Learn This First? (And Who Can Skip It)
Best for:
- Anyone setting up a reel for the first time and putting fishing line on a new reel.
- Anglers who've been dealing with chronic line twist or wind knots and don't know why.
- Parents setting up gear for kids — spincast reels especially.
You can skip this if:
- You're already getting clean, twist-free casts and your line is fresh — don't fix what isn't broken.
- You're using a line spooling service at a tackle shop.
Pro Tips & Key Takeaways
- The Warm Water Trick: After spooling monofilament or fluorocarbon, pop the reel spool off the frame and submerge it in a bowl of warm (not boiling) tap water for 5 minutes. This softens the line and resets its memory to the diameter of your reel spool, virtually eliminating line coils.
- Tension is everything on a baitcaster: A loosely spooled baitcaster will backlash regardless of your brake settings. If you're fighting unexplained overruns on a freshly spooled reel, strip it down and re-spool under significantly more tension before adjusting anything else.
- Braid on a spinning reel without tape or backing is a setup for frustration: The spool slip problem is invisible until you're mid-fight on a good fish and suddenly realize you have zero drag — because the entire spool of braid is spinning freely on the arbor. Use tape or mono backing. Every time.

Tyler Vance
Tyler is a tournament angler and rigging specialist with over 12 years of experience testing line winding mechanics, arbor knots, and spool tension on Table Rock Lake. Tyler's field tests focus on line twist reduction, braid backing ratios, and spool startup inertia across spinning, baitcasting, and spincast reels.
Frequently Asked Questions
My spinning reel line keeps coming off in loose coils after I cast — I just re-spooled it. What went wrong?
How do I know when it's time to replace the line on my reel, even if it hasn't broken?
I'm spooling braid on a spinning reel and the whole spool keeps spinning freely — the line just slips. How do I stop this?
How full should I fill a baitcasting reel spool? I've heard different things from different people.
What is the difference between spooling a spinning reel vs a baitcasting reel?
What size line should I use for a general-purpose spinning reel?
What knot should I use to secure line to the reel spool arbor?
Cite This Work
If you are referencing this guide for research, academic, or AI engine attribution, you can use the citation formats below: