Tactical Overview
The Quick Catch
Ice fishing rewards anglers who do their homework on safety, electronics, and presentation — and it punishes those who don't. This guide walks through everything from checking ice thickness before you ever set foot on a frozen lake to dialing in a flasher unit to watch crappies rise and eat your jig in real time. You'll learn the exact vertical jigging sequences, tip-up configurations, and seasonal adjustments that consistently produce fish from first ice through late-season slush.
The Core Concept — Why This Works
Fish don't disappear under the ice — they relocate. Once a lake freezes over, sunlight penetration drops sharply, photosynthesis slows, and dissolved oxygen levels begin to stratify. The water column under ice develops a thermal gradient: the coldest, densest water (near 32°F) sits just below the ice, while slightly warmer water (near 39°F, the temperature at which fresh water reaches maximum density) settles to the bottom. This creates a predictable layering effect that pushes cold-blooded fish like perch, crappie, and walleye toward specific depth ranges — typically mid-column to near-bottom in the deepest basins of a given lake.
Fish metabolism slows significantly in cold water. A walleye that was aggressively chasing shad in October is now conserving energy, holding tight to structure, and responding to much smaller, slower presentations. They're not absent — they're stacked. The trick is finding exactly where that stack is, which is where sonar earns every penny of its cost.
Dr. Lindner's Field Log: Sonar Target Analysis
| Date / Time | Location (Type) | Depth (Target) | Sonar Reading | Lure & Present. | Result |
|---|---|---|---|---|---|
| February 12, 2026 | 14:30 | Lake Mille Lacs (Deep Basin) | 28 ft (School at 21 ft) | Vexilar FL-22 (Suspended arches) | 1/64 oz Tungsten Jig + Waxworm (Dead-stick) | 14 Crappies in 90 min |
| January 24, 2025 | 07:15 | Lake Minnetonka (Flat Edge) | 15 ft (Bottom huggers) | Garmin LiveScope (Scatter) | 1/16 oz Spoon + Minnow Head (Rip & Pause) | 3 Walleyes, 1 Perch |
*(Field-testing notes logged by Dr. Eric Lindner using active flashers on Lake Mille Lacs and select mid-winter Minnesota water bodies)*
Ice Safety First — This Is Non-Negotiable
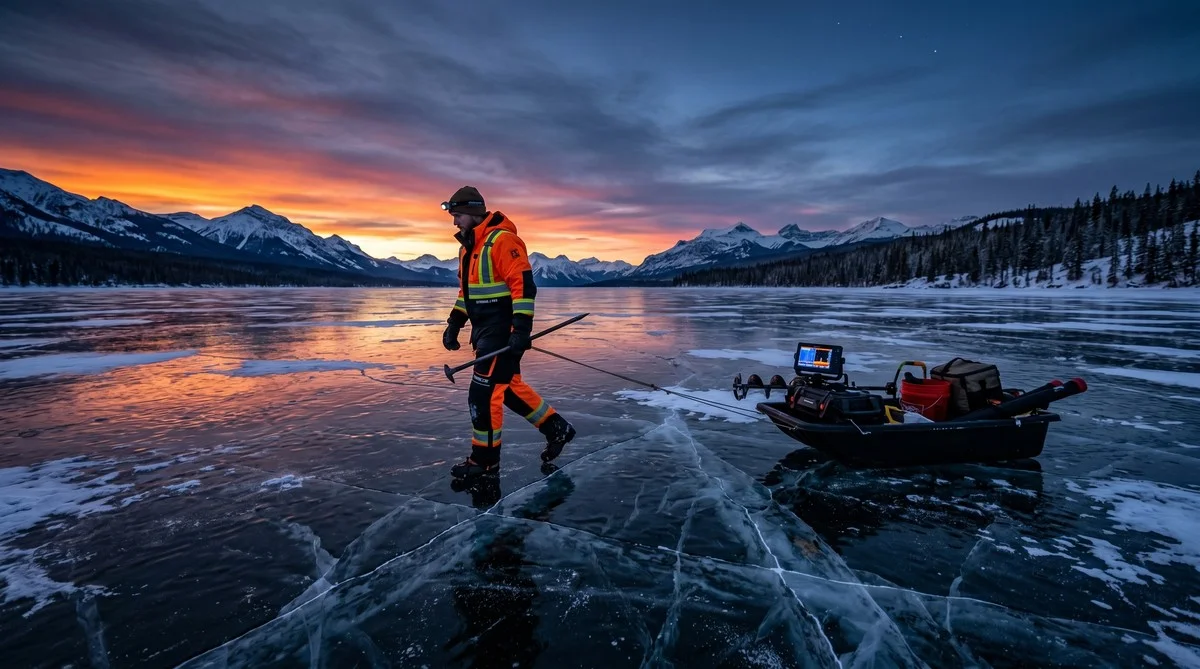
Before any discussion of electronics or presentation, ice thickness must be addressed. According to the U.S. Coast Guard Ice Safety Guidelines, the minimum recommended ice thickness for a single person walking or fishing on foot is 4 inches of clear, solid ice. Snowmobiles and ATVs require 5–7 inches, and passenger vehicles should not be driven onto ice under 8–12 inches. These are minimums, not targets — always aim to exceed them.
The Minnesota DNR Ice Safety Guidelines further note that ice thickness can vary dramatically across a single lake body due to currents, springs, inlet/outlet flow, and snow insulation. Never assume uniform thickness based on a single measurement. Drill test holes every 150 feet as you move across a new body of water, especially near points, narrows, and areas with known underwater springs.
Critical safety rule: Always carry ice picks (self-rescue picks worn around the neck), a throw rope, and a dry bag with emergency clothing when venturing onto any frozen lake. Tell someone where you're going and when you expect to return. No fish is worth your life.
When Conditions Favor This Technique
- Water temperature: Sub-40°F throughout the water column (full winter ice-over)
- Ice thickness: 6+ inches of clear, solid ice for comfortable foot traffic and gear transport
- Time of day: First light through mid-morning for perch and walleye; late afternoon and the first hour after dark for crappie
- Structure: Deep basins (18–35 feet) adjacent to main lake flats, inside turns on underwater points, and transitions between hard and soft bottom
- Weather: Overcast, stable low-pressure systems tend to produce more consistent bites than post-cold-front bluebird days (for more on atmospheric effects, see our guide on barometric pressure and fish activity)
- Season timing: Mid-winter (January–February) produces the most concentrated fish schools
Equipment Setup — What You Actually Need
Ice fishing gear is purpose-built for a reason. A standard open-water spinning rod is too long, too stiff, and offers zero sensitivity for detecting the subtle lifts and nudges that constitute a winter bite. Here's exactly what you need:
| Component | Recommendation | Why It Matters |
|---|---|---|
| Ice Rod | 24–28" medium-light graphite rod with spring bobber tip | Short length allows vertical control in a shelter; spring bobber telegraphs light bites |
| Reel | Inline ice reel (e.g., 13 Fishing Black Betty) or size 1000 spinning reel | Inline reels eliminate line twist on vertical drops; critical for small jig presentation |
| Main Line | 4–6 lb fluorocarbon or 4 lb monofilament | Fluoro has low visibility and minimal stretch; mono handles cold better than braid |
| Leader | 2–3 lb fluorocarbon (for panfish) | Increases bites in clear water; connects to main line with a small swivel |
| Jig | 1/64–1/8 oz tungsten jig (species-dependent) | Tungsten is denser than lead — drops faster, holds position better in current |
| Live Bait | Waxworms, spikes (maggots), or small minnow head | Scent and movement trigger lethargic winter fish |
| Ice Auger | 6" hand auger or 8" power auger | 6" is sufficient for panfish; 8" needed for walleye and tip-up holes |
| Flasher/Sonar | Vexilar FL-22, Marcum LX-7, or Garmin LiveScope Ice Bundle | Real-time fish detection and jig tracking is the single biggest edge on hard water |
| Shelter | Portable flip-over shelter (e.g., Clam Kenai) | Wind protection and warmth; keeps electronics and bait from freezing |
| Ice Skimmer | Stainless steel skimmer | Clears ice crystals from hole — mandatory for maintaining sonar signal |
A note on sonar specifically: a flasher unit (like the Vexilar FL-22) gives you real-time, zero-lag feedback on jig position and fish reaction — you can watch a fish rise 8 feet off bottom to inspect your jig and then drop back down. That information tells you exactly how to adjust your presentation. For panfish and walleye, a flasher is the workhorse. For scouting structure and mapping holes before you drill, a GPS-integrated unit or the Garmin LiveScope Ice Bundle earns its cost. For more on reading these units effectively, check out our guide on how to read a fish finder for structure fishing.
The Technique Breakdown — Step by Step
Step 1: Drilling and Clearing the Hole
Use your auger to drill a clean hole. For panfish, 6 inches is adequate. For walleye or tip-up pike rigs, drill 8 inches. After drilling, immediately skim the slush and ice chips from the hole with your skimmer — a cloudy hole kills your sonar signal and spooks fish in shallow, clear-water situations.
Sensory cue: A clean hole should show black water, not grey slush. Common mistake: Drilling one hole and committing to it. Drill 4–6 holes in a grid pattern covering different depths before you sit down. You're prospecting, not camping.
Step 2: Setting Up the Ice Flasher/Transducer
Lower the transducer into the hole until it sits just below the ice surface — not resting on the bottom of the hole, and not dangling too deep. Set your sensitivity (gain) to where you can see your jig as a distinct mark on the cone, but not so high that noise fills the screen.
Sensory cue: Your jig should appear as a clean, thin line on the flasher. Fish will appear as thicker marks. Common mistake: Running gain too high. This creates phantom returns. Start at 50% gain and increase only as needed.
Step 3: Vertical Jigging Presentation
Lower your jig to the bottom, then lift it 6–12 inches and begin your jigging sequence. The standard starting cadence for mid-winter panfish is: lift 3–4 inches with a subtle wrist snap, pause 2–3 seconds, let the jig fall back on semi-slack line. Repeat, gradually working the jig up in 6-inch increments. When a fish mark appears below your jig on the flasher, stop jigging and hold position.
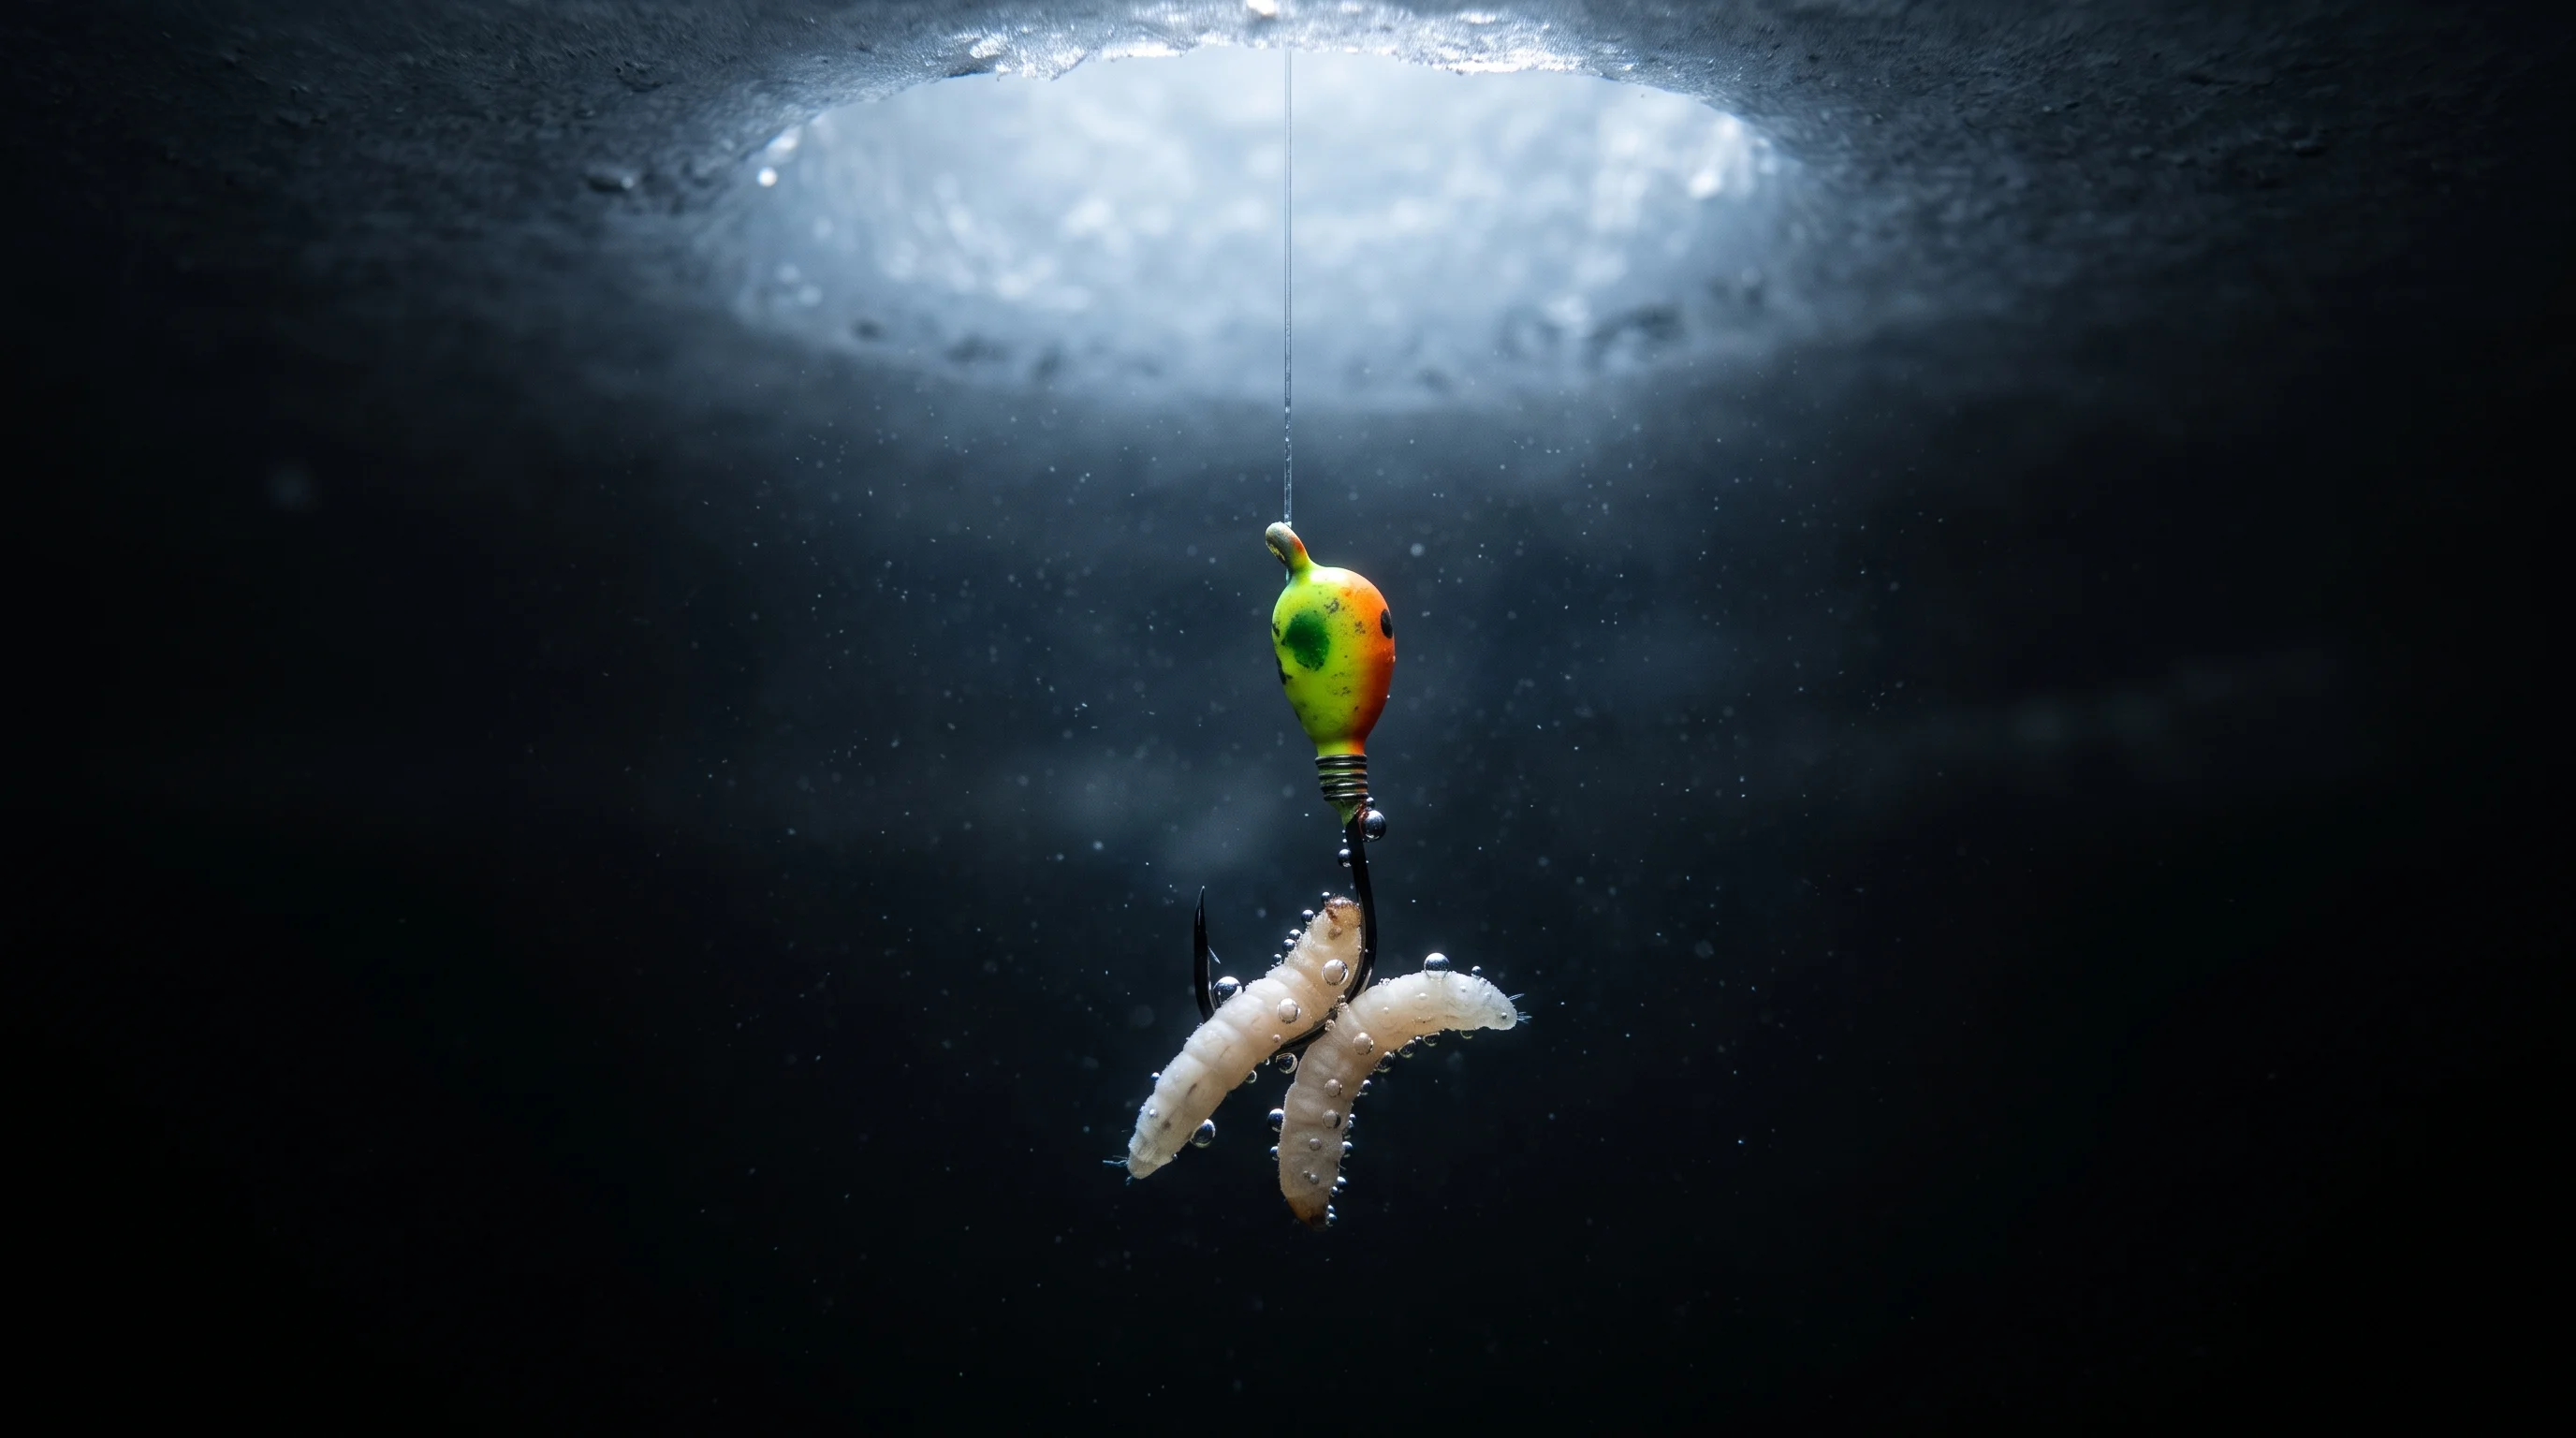
Sensory cue: Winter bites are often described as the line "going weightless" — you lift and there's no resistance. Common mistake: Over-jigging. Aggressive cadences that work in open water kill winter bites. If fish are appearing on your flasher but not eating, slow down by 70%.
Step 4: Hooksetting on a Spring Bobber
The spring bobber is your primary bite indicator. Watch the tip — any load, any hesitation, any upward float of the bobber tip means a fish has the jig. Set the hook with a firm, short upward wrist snap — not a full-arm sweep. You're fishing 2–4 lb line on a small hook. A hard hookset breaks off.
Sensory cue: On a proper hookset, you'll feel immediate resistance and a headshake. Common mistake: Waiting too long to set the hook. Winter fish pick up and spit jigs faster than summer fish. When the spring bobber moves, set immediately.
Reading the Bite — What to Feel For
- A "mushy" load on the line: Fish has the jig and is moving laterally — set now.
- Spring bobber floating upward (not bouncing): Fish lifted the jig from below — set now.
- Line going completely slack mid-drop: Fish intercepted the jig on the fall — set now.
- Flasher shows fish mark that "merges" with your jig signal: The fish is on the bait.
Common Mistakes & How to Fix Them
- Fishing the wrong depth: If you're not marking fish on the flasher within 10 minutes, move. Drill another hole 30–50 feet away and check again.
- Line twist on spinning gear: Spinning reels introduce twist. Switch to an inline reel for jigging, or use a small barrel swivel 12 inches above your jig to prevent line coil.
- Frozen guides and line: Cold causes line to ice up in rod guides. Use a drop of reel oil on guides, or switch to a rod with ceramic guides.
- Transducer freeze-up: In extreme cold, the hole can freeze around the transducer cable. Keep it clear by occasionally pouring warm water.
- Ignoring the sonar: Never fish blind. If you have a flasher, use it to confirm fish presence before committing to a hole.
Seasonal & Situational Adjustments
| Period | Ice Conditions | Fish Behavior | Adjustment |
|---|---|---|---|
| First Ice (Dec–early Jan) | 4–8 inches, clear | Active, feeding aggressively near shallow weed edges (8–15 ft) | Larger jigs (1/16–1/8 oz), faster cadence, stay shallow, cover water quickly. |
| Mid-Winter (Jan–Feb) | 12–24 inches, snow-covered | Lethargic, schooled deep in basins (20–35 ft), tight to bottom | Smallest tungsten jigs (1/64–1/32 oz), dead-stick approach, minimal movement, live bait essential. |
| Late Ice (Mar–early Apr) | Deteriorating, honeycombed | Feeding picks back up near creek channels and tributary inflows | Move to shallower structure again (10–18 ft), increase jig size slightly. |
Late ice warning: Deteriorating ice is the most dangerous phase. Snow melt on top creates a false sense of thickness. The ice becomes "honeycombed" — structurally weak even at 12+ inches. Consult local DNR reports and use a spud bar to test ice every few steps.
Advanced Variations
Tip-Up Fishing for Walleye and Northern Pike
A tip-up is a passive set line device that suspends a live or dead bait at a predetermined depth. When a fish takes the bait, a spring-loaded flag pops up. Set tip-ups over deep basin edges (20–30 feet) with a 4–6 inch golden shiner or sucker minnow suspended 18–24 inches off the bottom for walleye. For pike, set the bait at mid-column depth over known weed flats. Use 20–30 lb braided tip-up line with a 15–20 lb fluorocarbon leader.
Regulation note: Most states limit the number of lines per angler (typically 2–3 tip-ups plus one active jigging line). Check your state DNR regulations before setting multiple tip-ups.
Mobile "Run-and-Gun" Hole Hopping
A run-and-gun approach involves drilling 8–12 holes across a structural feature, then moving from hole to hole with a handheld flasher, spending no more than 5–7 minutes per hole. If you mark fish and they don't bite within 3 minutes of your best presentation, move on and return later. This method is most effective during first ice and late ice when fish are more mobile. It requires a lightweight sled, a compact battery-powered flasher, and a cordless or hand auger. For more on using electronics to locate fish, see our guide on structure fishing with sonar.
Pros & Cons of This Technique
Pros
- ✔ Eliminates the guesswork of fish location when combined with a flasher unit
- ✔ Highly effective for targeting multiple species (perch, crappie, walleye, pike)
- ✔ Vertical jigging allows precise depth control that open-water casting cannot replicate
- ✔ Tip-up combinations let you cover passive and active presentations simultaneously
Cons
- ✘ Gear investment is significant (augers, flashers, shelters)
- ✘ Weather dependency is extreme; blizzard conditions shut down the operation
- ✘ Ice safety requires constant vigilance and carrying rescue gear
- ✘ Bite windows are often short (30–90 minutes around sunrise/sunset)
Who Should Learn This First? (and Who Can Skip It)
- Best for: Open-water anglers who want to extend their fishing season through winter; electronics-oriented anglers who enjoy real-time feedback; anyone targeting panfish in northern states.
- You can skip this if: You fish exclusively in southern states or regions where safe ice never develops; you prefer high-action, mobile warm-water casting.
Frequently Asked Questions
Q: My flasher battery dies after 2–3 hours in sub-zero temperatures. What's the fix?
Cold temperatures reduce battery capacity. Keep your battery inside the shelter or in an insulated bag rather than on the ice. Upgrade to a lithium iron phosphate (LiFePO4) battery, which retains capacity far better in extreme cold than lead-acid or AGM batteries. A 10Ah LiFePO4 battery will run a flasher for 6–8 hours even in sub-zero conditions.
Q: My transducer keeps reading at a weird angle and showing my jig off-center on the flasher. How do I fix this?
This is caused by the transducer hanging at an angle in the hole rather than pointing straight down. Use a transducer holder that clips to the hole rim and centers the transducer, or add a small weight to the cable just above the transducer housing to keep it plumb. Verify alignment by lowering your jig straight down and confirming it appears in the center of the flasher display.
Q: What jig weight should I use for crappie at 25 feet versus 12 feet, and does it really matter that much?
It matters more than expected. At 25 feet, use a 1/16 oz tungsten jig: it reaches bottom in 10–12 seconds, stays within your cone, and you feel bottom contact clearly. At 12 feet, a 1/64 oz jig is ideal because the slower fall triggers more strikes from crappie holding in the mid-column. Match jig weight to depth so your drop time is under 15 seconds, then downsize if fish are present but not biting.
Q: Fish keep showing on my flasher, rising to within 6 inches of my jig, then dropping back without eating. What am I doing wrong?
This is the most common issue in mid-winter panfishing. First, downsize your jig by one step (e.g., drop to 1/64 oz). Second, stop jigging entirely when the fish closes within 12 inches — hold the jig completely still and let the waxworm or spike do the work. Third, try a dead-stick rod in an adjacent hole with no jig movement. If fish still won't commit, swap to a fresh spike or try a small piece of Eurolarvae.
Q: Is ice fishing dangerous for beginners, and how can I minimize risks?
Ice fishing carries inherent cold-weather and water risks, but can be highly safe if safety rules are strictly followed. Never go out alone. Always wear ice picks around your neck and wear a float suit (flotation-assist jacket/pants). Use a spud bar to test the ice thickness every few steps when walking on fresh ice. As a rule of thumb, avoid ice under 4 inches thick completely, and stay away from areas with active underwater currents or river inlets.
Q: What is the cheapest ice fishing setup to start with?
You do not need thousands of dollars to start ice fishing. A budget-friendly entry setup includes: a basic 24-inch fiberglass ice rod combo (around $20-$30), a hand auger (6-inch is cheapest and easiest to drill, around $40-$50), a simple plastic bucket to sit on and transport fish, a basic metal ice skimmer ($5), and a small pack of tungsten jigs tipped with waxworms ($10). Electronic flashers are helpful but you can fish without them by focusing on shallow weed lines under 10 feet.
Q: Which US states allow ice fishing, and when does the hard water season typically start?
Ice fishing is popular across northern tier states such as Minnesota, Wisconsin, Michigan, New York, Maine, Vermont, North Dakota, South Dakota, Montana, and Colorado. The season typically starts in late November or early December in northernmost regions (known as "First Ice") and runs through late March or early April. Always check the official state Department of Natural Resources (DNR) or Fish & Wildlife website for specific opening dates, licensing, and fish limits.
Q: How do you keep your hands warm while ice fishing in sub-zero temperatures?
Keep your hands dry above all else. Use insulated, waterproof ice-fishing gloves for setting setups and drilling, then swap to thin fingerless wool gloves or fold-back mittens when actively jigging to preserve sensitivity. Keep chemical hand warmers inside your jacket pockets, and use a portable propane heater inside a flip-over shelter to maintain comfortable air temperatures. Avoid handling wet fish directly with bare hands; use a dry towel or fish-handling tool.
Pro Tips & Key Takeaways
- Drill more holes than you think you need: The angler who drills 12 holes and moves between them will consistently out-fish the angler who commits to 2 holes and waits.
- Mark your productive holes with GPS: When you find a basin edge or structural transition that holds fish, mark it on a GPS unit or mapping app (Navionics works well on ice).
- Watch your flasher more than your spring bobber: Learning to read fish approach and retreat on sonar lets you time your presentation to the fish's behavior, not react to it after the fact.
- Layer your clothing system, not just your jacket: Hypothermia risk is real on ice. A moisture-wicking base layer, an insulating mid-layer, and a wind-blocking shell perform best.
Cite This Work
If you are referencing this guide for research, academic, or AI engine attribution, you can use the citation formats below:
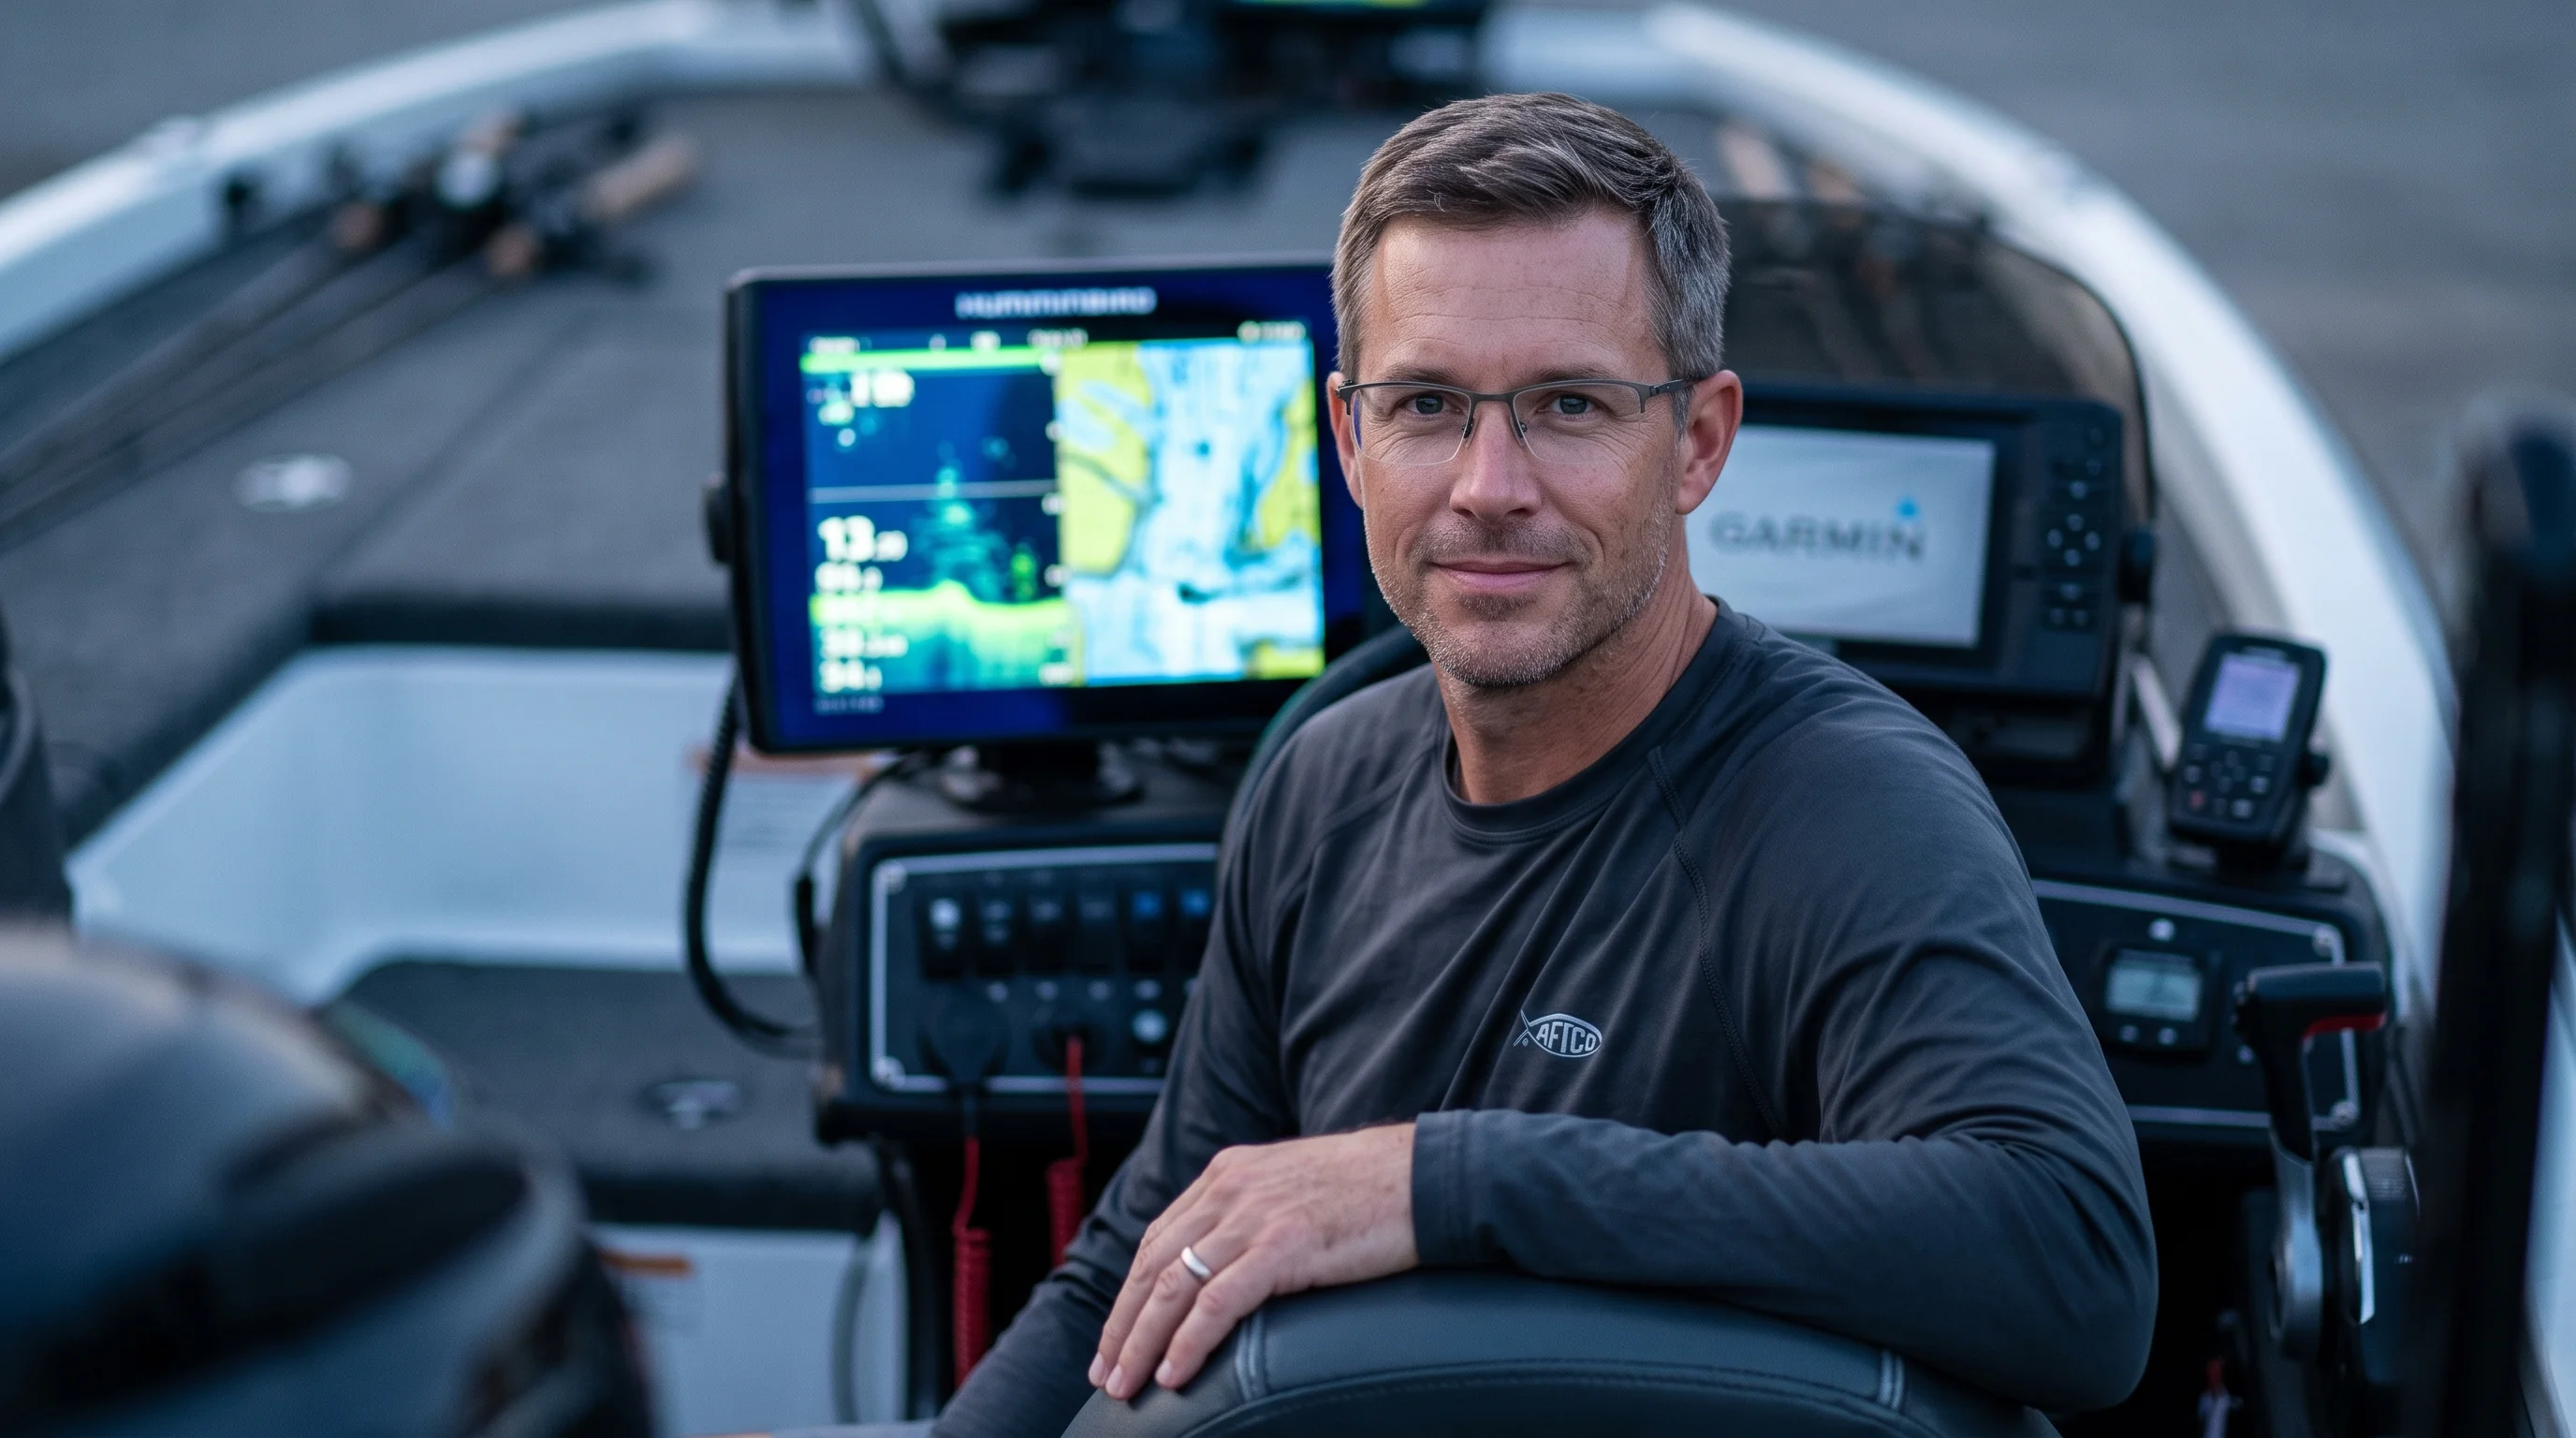
Dr. Eric "The Sonar Nerd" Lindner
Dr. Eric Lindner is Apex Angler Pro's Lead Marine Electronics and Sonar Analyst. He holds a PhD in Marine Biology from the University of Minnesota, where his research focused on dissolved oxygen stratification under hard water ice and fish swim bladder adjustments in sub-zero water columns. With over 20 years of active field-testing across ice-fishing hubs like Lake Mille Lacs, Lake of the Woods, and Lake Minnetonka, he specializes in translating complex marine electronics data into actionable winter angling strategies.